
Last updated October 31, 2026
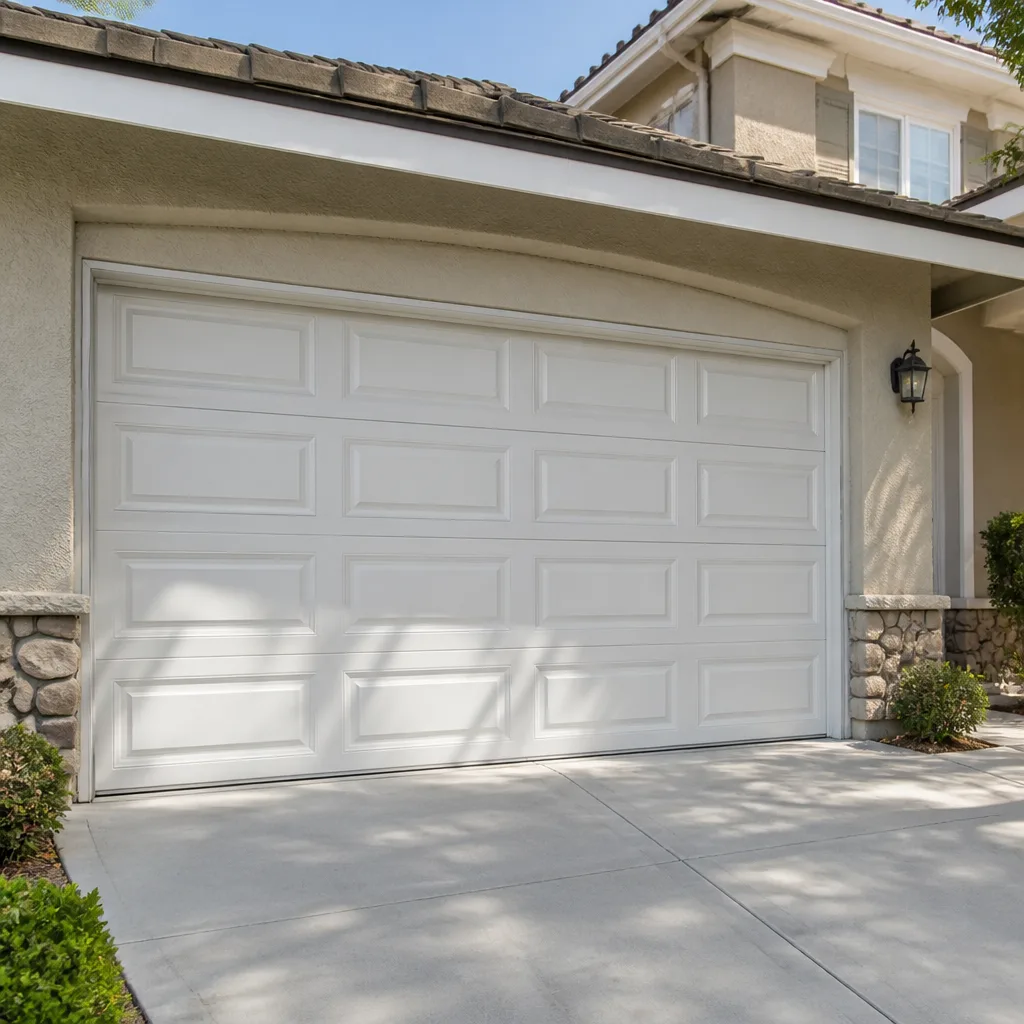 Raised-panel steel
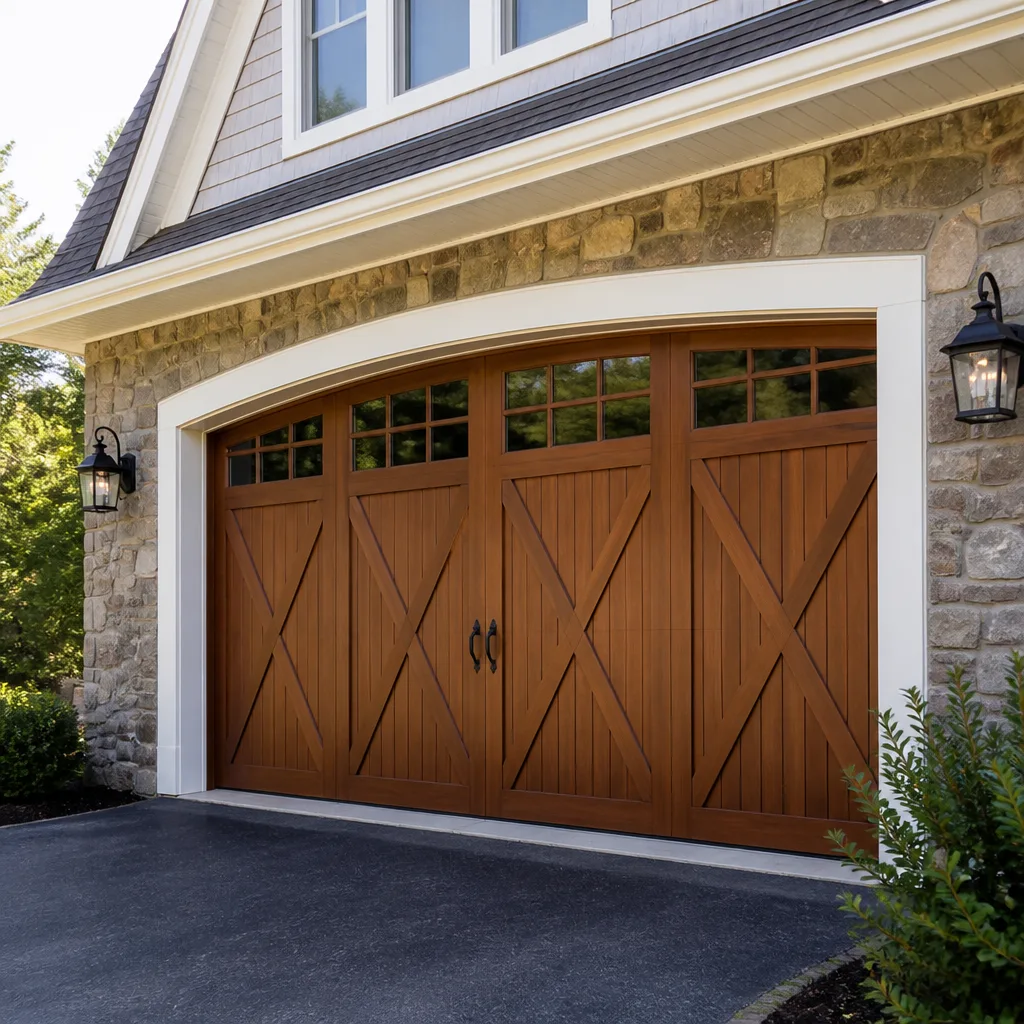 Carriage house
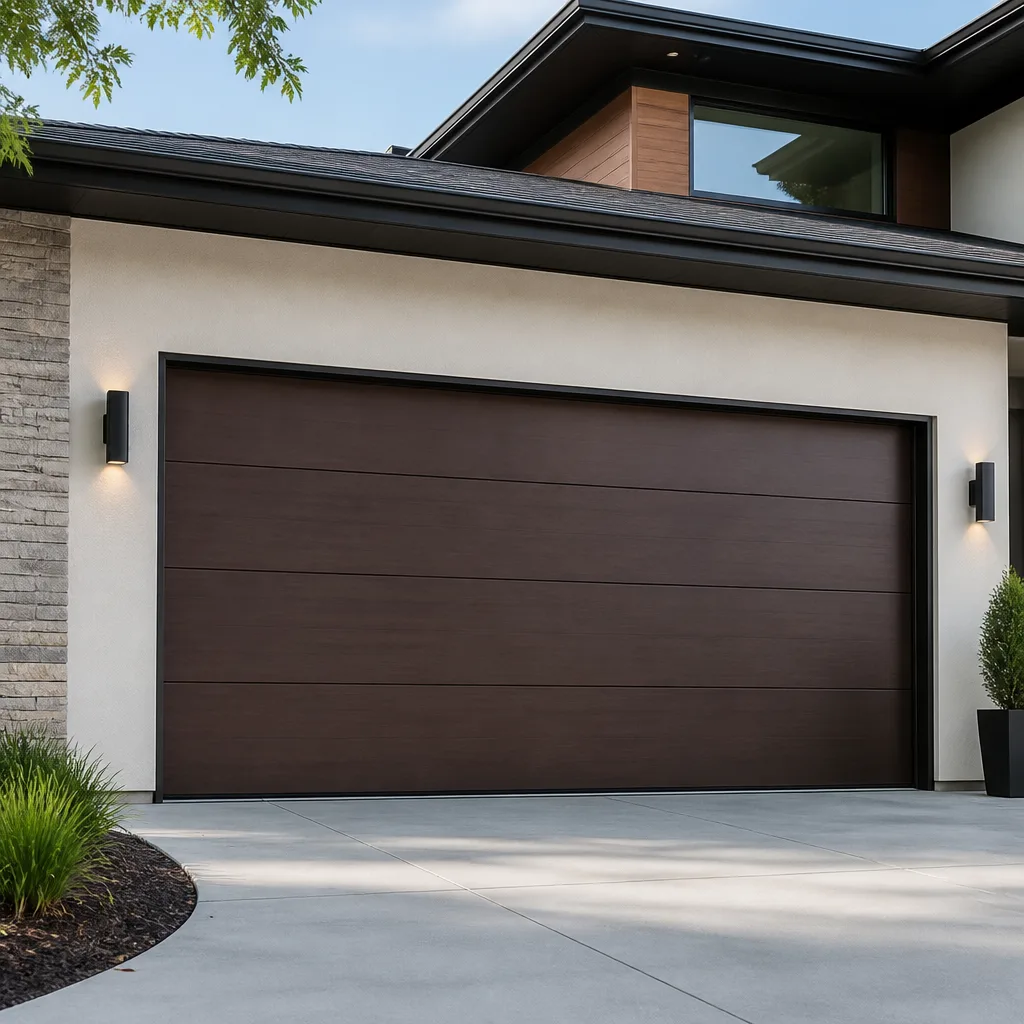 Modern flush
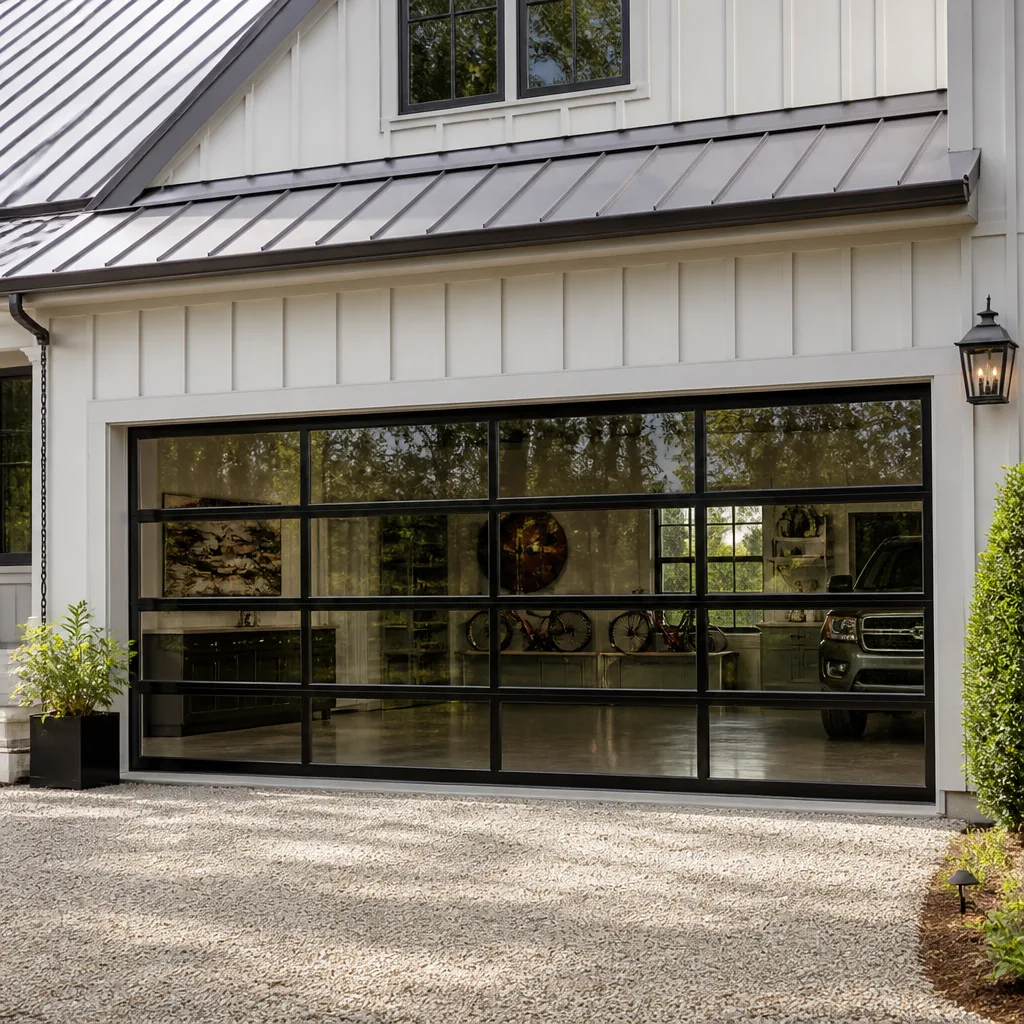 Full-view glass
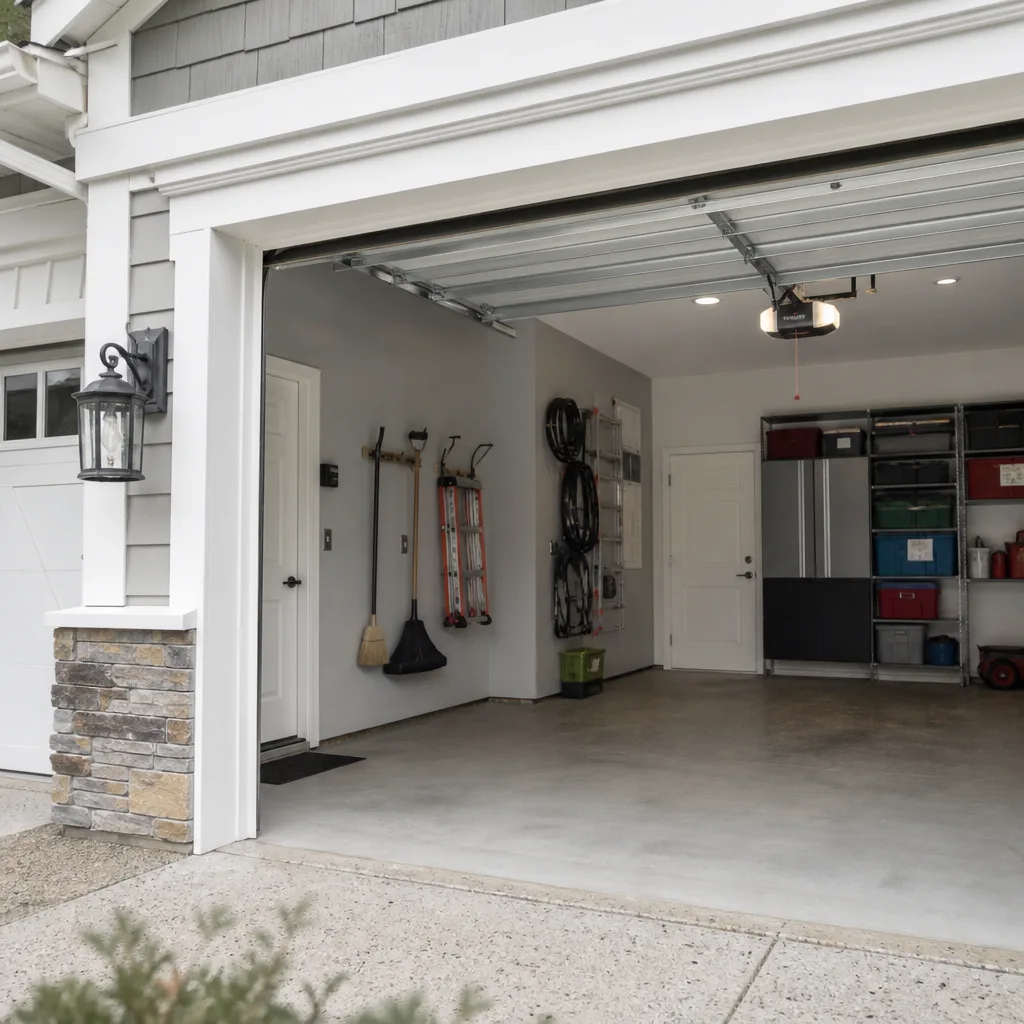 LiftMaster openers
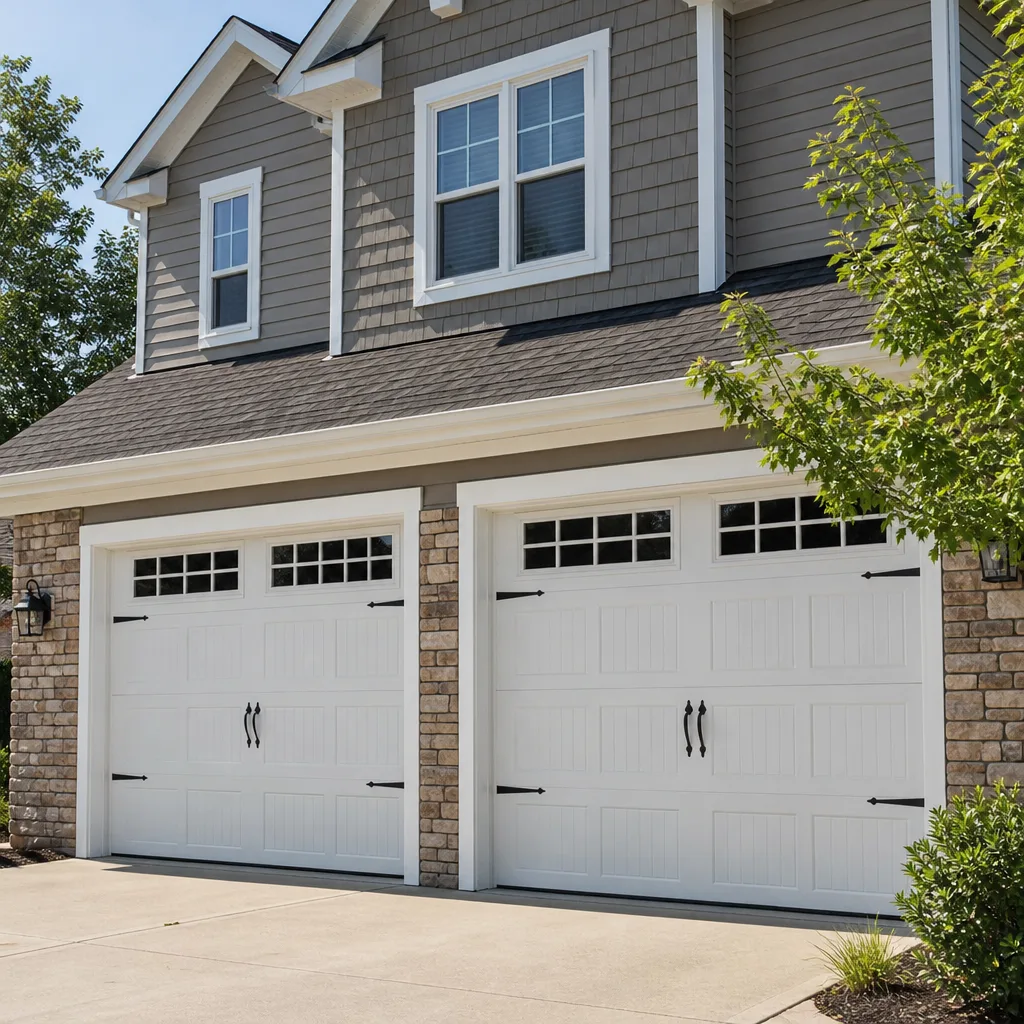 Chamberlain openers
Full 25-point door and opener safety check with every visit - springs, cables, rollers, tracks, and your LiftMaster or Chamberlain opener included
You get a price before we start. It does not change when the truck arrives.
Get your free estimateGarage Door Repair Troubleshooting: Common Problems and How to Fix Them
Here’s something that surprises most homeowners in Chula Vista: your garage door opens and closes roughly 1,500 times a year, yet most people spend more time thinking about their refrigerator than the largest moving object in their home. By the time that door starts misbehaving, it’s often been sending warning signs for weeks. A slow start here. A grinding noise there. This guide gives you a diagnostic framework that separates sensor hiccups from spring failures, the blink codes your opener has been flashing at you, and the one test that tells you in under a minute whether the problem is the door itself or the motor hanging above it. For related reading, see our Garage Door Warning Signs: A Chula Vista Homeowner’s Reference Guide. If you live in Chula Vista, where coastal air accelerates rust on hardware and tracks, this knowledge pays for itself the first time you avoid an unnecessary service call or catch a failing spring before it snaps.
Styles & brands we work with
Quick Answer
Garage door troubleshooting starts with one decision: is the problem in the mechanical system (springs, cables, rollers, tracks), the drive system (opener motor, belt, chain, circuit board), or the safety system (photo eyes, auto-reverse, wall button)? A door that reverses before closing usually means misaligned sensors, a 30-second fix. A door that won’t move at all but makes a humming sound often means a broken torsion spring, which requires a trained technician. Before touching anything, run the manual disconnect test: pull the red release cord and try lifting the door by hand. If it moves smoothly, the door is fine and the opener is the problem. If it’s heavy or stuck, the mechanical system needs attention.
Table of Contents
- The Three-Branch Diagnostic Framework: Mechanical, Drive, and Safety
- The Manual Disconnect Test: Door vs. Opener in 60 Seconds
- Reading Blink Codes: LiftMaster, Chamberlain, and Genie Error Translation
- Door Reverses Before Closing: Sensor Alignment and Force Settings
- Door Won’t Open or Makes a Humming Sound
- Noisy Operation: Grinding, Squealing, and Rattling Sources
- Sagging Sections, Broken Rollers, and Track Misalignment
- How to Describe Your Problem to a Technician for an Accurate Quote
- Common Mistakes to Avoid
- When to Call a Professional
- Frequently Asked Questions
- The Bottom Line
The Three-Branch Diagnostic Framework: Mechanical, Drive, and Safety
Most garage door troubleshooting advice online throws symptoms at you in a random list: “door won’t close,” “door makes noise,” “remote doesn’t work.” That approach wastes your Saturday. A better method, and the one we use on every service call in Chula Vista, splits every possible problem into three branches. Each branch has its own fix path, its own tools, and its own safety rules.
The mechanical branch covers everything that physically moves the door: torsion springs, extension springs, cables, rollers, hinges, and tracks. These parts carry the door’s full weight, which on a standard 16-foot double door in Chula Vista runs between 130 and 200 pounds. Mechanical problems announce themselves through visible wear, broken parts, or doors that feel heavy when you test them by hand. This branch is where the serious injuries happen, so the split matters for your safety as much as your diagnosis.
The drive branch covers the opener: the motor, the belt or chain, the sprocket, the circuit board, the wall button, and the remote. If the door moves freely by hand but won’t move under power, you’ve isolated the problem to this branch. Drive issues are almost always repairable without replacing the door, and often without replacing the opener itself.
The safety branch covers the photo eye sensors near the floor, the auto-reverse mechanism, and the force settings that determine how much resistance the door pushes through before reversing. Safety problems often mimic mechanical problems: a door that reverses before closing looks like a broken spring to the untrained eye. It’s usually a dirty lens or a bent sensor bracket.
Here’s the practical value of this framework: when you call any garage door repair company in Chula Vista, describing your problem by branch gets you a more accurate quote and a better-prepared tech. “The door moves fine by hand but the opener clicks and does nothing” tells us the drive branch is the problem, and we show up with opener parts, not spring parts.
The Manual Disconnect Test: Door vs. Opener in 60 Seconds
This is the single most useful diagnostic step in garage door troubleshooting, and most homeowners never do it. It takes about a minute and splits your problem cleanly in half: door or opener.
Here’s the procedure:
- Close the garage door fully. Never run this test with the door open; a broken spring will send the door crashing down if you disconnect it at the top of the track.
- Locate the red emergency release cord hanging from the opener rail. It usually has a red plastic handle, about 3 to 4 feet off the ground.
- Pull the cord down and toward the door. You’ll hear a click, and the opener carriage will disengage from the chain or belt.
- Lift the door by hand using the bottom handle or a safe grip point, not the edges of the panels.
- Lift it to about waist height and let go. A properly balanced door holds its position or drifts very slowly. A door with a broken spring either won’t lift or slams down.
If the door opens smoothly and stays put, your door and springs are likely fine, and the problem is in the opener: gears, circuit board, remote, or sensors. If the door is heavy, lifts unevenly, or feels like dead weight, the mechanical system has failed, and continuing to operate the opener could strip the gears inside it.
This test is safe to perform with one critical exception: do not try to force a heavy door. If it won’t move with moderate effort, stop. A broken torsion spring stores none of its usual tension, and the door’s full weight now sits on whatever is left. In Chula Vista’s older neighborhoods, like the homes built in the 1960s and 1970s along Telegraph Canyon Road, we regularly see doors from this era with original springs that fail this test. That’s a repair-first situation, not a DIY one.
Reading Blink Codes: LiftMaster, Chamberlain, and Genie Error Translation
Your opener has been trying to talk to you, and you’ve been ignoring it. Every LiftMaster, Chamberlain, and Genie opener made in the last 15 years flashes diagnostic codes through the learn button or the arrow buttons on the wall console. Those flashes aren’t random. They’re specific error codes that point to exact components.
LiftMaster and Chamberlain (same manufacturer, different badges) use the learn button light or the diagnostic LED. Count the flashes, note the pattern: up and down arrows flash, or the LED blinks a number of times, then pauses, then repeats. The most common codes we see on service calls across Chula Vista:
- 1 flash, 1 flash pause: The safety sensors are misaligned or blocked. Walk to the bottom of the track and check the small lenses on both sides.
- 2 flashes, pause: Sensor wire short or open. This often happens after a hinge screw nicks a wire, or when a rat chews through the low-voltage line in the garage.
- 4 flashes, pause: The safety sensors are misaligned or the door has reversed twice in a row due to obstruction. Check for debris on the tracks, or ice and mud buildup on the bottom seal during Chula Vista’s rare rainy stretches.
- 5 flashes, pause: The motor overheated. This is common on older LiftMaster chain-drive units in non-insulated garages during Chula Vista summer heat, where interior temps can push past 100 degrees. Let it cool for 15 minutes.
- 6 flashes, pause: The logic board is failing. This one isn’t a DIY repair.
Genie uses a different system: a red and green LED on the opener. A steady red means the unit has power. A blinking red or blinking green corresponds to specific fault conditions, and the pattern differs between the older screw-drive models and the newer belt-drive Excelerator series. On most Genie units, a blinking red light with the door not moving points to the Safe-T-Beam sensors or a travel limit issue. On newer Genie models with a digital display, the code appears as text, and the unit won’t reset until the fault clears.
One note about Wayne Dalton, Craftsman, and Raynor openers: Craftsman openers made before 2010 were built by Chamberlain, so the blink code system above applies. Raynor openers often use their own control boards, but the sensor blink logic mirrors the industry pattern. Knowing your opener brand before calling a technician saves you a full diagnostic cycle on the phone.
Door Reverses Before Closing: Sensor Alignment and Force Settings
A door that starts closing, then reverses and opens again before touching the ground is the most common garage door complaint we hear from Chula Vista homeowners, and it’s also the one with the highest rate of unnecessary service calls. It looks like a serious malfunction. It’s usually a dirty lens or a bumped sensor bracket.
Here’s the fix order:
- Check the photo eyes at the bottom of each track, about 6 inches off the floor. Each has a small LED, usually green or red. If one or both are off or flickering, you’ve found the problem.
- Wipe both lenses with a dry cloth. In Chula Vista’s coastal zone, especially west of Interstate 805, salt-haze and dust accumulate on these lenses quickly.
- Check the brackets. A rake, a garbage can, or a kid’s bike nudges these out of alignment constantly. Loosen the wing nut, aim the sensor so both LEDs are steady, and tighten.
- Look for direct sunlight hitting one sensor. This happens in south-facing Chula Vista garages in late afternoon. Fashion a small shade from cardboard or a plastic cup taped over the sensor to block the sun while still allowing the beam through.
- If the sensors are aligned and the door still reverses, the close-force setting on the opener may have drifted. On LiftMaster and Chamberlain units, this is adjusted with the arrow buttons on the side panel. A door that needs too much force trips the auto-reverse even without an obstruction.
If you’ve done all five steps and the door still reverses, the problem may be in the travel limits. When a limit is set too far, the opener thinks the floor is higher than it actually is, and it reverses early. This is also the moment to call a professional rather than chase the settings yourself. A technician with a trained eye and the right equipment can dial in force and limits in minutes, and at Chelsea Garage Door Service, we do this as a standard part of any repair call rather than as an upsell.
Door Won’t Open or Makes a Humming Sound
Here’s a scenario we answer constantly in Chula Vista: the door won’t move, but when you press the wall button, you hear a low hum. Homeowners assume the motor burned out. In most cases, the motor is fine, and what you’re hearing is the motor straining against a door that can’t move because a spring has broken.
Torsion springs sit on a metal shaft directly above the door opening. They’re wound tight, and they store the mechanical energy that counterbalances the door’s weight. A spring’s lifespan is rated in cycles, not years. A standard 10,000-cycle spring lasts about seven years with normal use. When it snaps, the sound is unmistakable: a sharp crack, like a firecracker or a gunshot, loud enough that neighbors have been known to report it. After the snap, the opener motor is now trying to lift a 150+ pound door with no spring assist. It can’t. The hum is the motor stalling.
This is the hardest line in home repair, and it’s absolute: do not attempt to replace a torsion spring yourself. These springs are wound under extreme tension. A slip from a winding bar can break bones, sever fingers, or worse. Every experienced technician knows someone who’s been hurt, or knows a story about a homeowner who tried. In our experience serving Chula Vista, we’ve seen the aftermath of DIY spring attempts: damaged doors, stripped opener gears, and hospital visits. If you’re deciding whether to hire help, read How to Hire a Garage Door Contractor in Chula Vista: A Step-by-Step Guide. The repair itself is a one-visit job for a trained professional with the right winding bars and the exact replacement spring spec.
If you don’t hear a hum and nothing happens at all, the problem is in the drive branch: a dead wall button, a tripped GFCI outlet, or a failed logic board. Check the outlet first by plugging in a lamp. If the outlet has power and the wall button is dead but the remote works, the button wire has a break or the button itself failed. These are parts-level fixes that don’t require a full opener replacement, which matters when you’re deciding whether to call someone or start shopping for a new unit.
Noisy Operation: Grinding, Squealing, and Rattling Sources
A garage door that sounds like a dying animal is telling you something specific. The sound’s character points to the component at fault. Here’s the noise-to-source translation we use when diagnosing Chula Vista garage doors over the phone.
Grinding from the opener head usually means the plastic drive gear inside the opener has worn down. This is common on LiftMaster and Chamberlain chain-drive units from the early 2000s, and the gear is a $20 part that requires about 45 minutes to replace. The motor overworks itself when the gear teeth strip, and the noise gets worse fast.
Squealing from the door edges means steel rollers running on steel tracks without lubrication, or nylon rollers with worn bearings. In Chula Vista’s coastal air, roller bearings rust faster than they do inland. A dry roller squeals; a rusted roller grinds. Lubricating the rollers, hinges, and bearings with a garage-door-specific lubricant (not WD-40, which is a solvent) is a maintenance task any homeowner can do every six months.
Rattling usually means loose hardware: hinge bolts, track brackets, or the bolts that mount the opener to the ceiling. Walk the door with a socket wrench and tighten every bolt you can reach. Do not adjust the track itself, but bolts that have worked loose over years of vibration are fair game.
Popping from the springs is different. Torsion springs make a popping or creaking sound as they age, especially in temperature shifts. This is not necessarily a failure, but it warrants a professional inspection. Springs that skip or bind can wear unevenly and break early.
Our general rule at Chelsea Garage Door Service: loud and getting louder means fix it now. A door that has always made a little noise will probably keep making a little noise. A door that starts making a new noise has a component telling you it’s failing, and the window between “noisy” and “broken” can be measured in weeks, not months.
Sagging Sections, Broken Rollers, and Track Misalignment
Walk to the back of your garage and look at the door with fresh eyes. A healthy garage door should sit level. A door that dips in the middle, sags at one end, or has visible gaps between sections at the top of the curve is showing you a structural problem.
Sagging usually comes from one of three sources: a broken or bent panel, a failing hinge, or a roller that has come out of the track. Sectional doors rely on hinges to transfer the door’s weight evenly across its width. When a hinge cracks or its through-bolts loosen, the section it supports starts to droop. The door still works for a while, but every cycle stresses the adjacent hinges and the rollers, and the cascade accelerates.
Rollers pop out of tracks for two common reasons in Chula Vista: the track itself has been knocked out of alignment, or the roller’s wheel has separated from its stem. Rollers are wear items. Nylon rollers with sealed bearings last longer and run quieter, but when one fails, the door’s travel turns jerky and the stress moves to the other rollers.
Track misalignment often traces back to a specific incident: a car bumper tapped the track, a ladder fell against it, or the mounting brackets pulled loose from the wall over years of vibration. A track that’s visibly angled away from the door, or one with a gap between the track and the door edge, is not something to muscle back into place. The door runs under spring tension, and attempting to bend or reposition a track under load is how fingers get pinched and doors come off their rails.
Chula Vista has a mix of housing stock, from 1970s ranch-style homes on the east side to new construction in Otay Ranch. The older the home, the more likely the door has accumulated small misalignments over decades. If you’ve just moved in, and the door runs rough or looks crooked, there’s a good chance you’ve inherited years of deferred maintenance. A professional inspection will catch hinge wear and track issues before they turn into a door off the track and a garage you can’t close.
How to Describe Your Problem to a Technician for an Accurate Quote
The difference between a $79 service call and a $300 service call can come down to how well you describe the problem on the phone. Here’s the five-question framework we use at Chelsea Garage Door Service to prepare for every Chula Vista call, and you can use it with any company you contact:
- Branch it first. Run the manual disconnect test from the section above. Tell the technician: “The door moves fine by hand” or “The door is heavy and won’t lift.” That sentence alone splits the diagnosis in half.
- Describe the sound. Grinding, squealing, humming, clicking, or silence. Record a 10-second video on your phone if you can. Audio tells a technician more than a paragraph of description.
- Note when it happens. Every time, or only in the morning, or only when it’s hot, or only when using the remote vs. the wall button. Pattern details isolate specific components.
- State the opener brand and approximate age. “It’s a LiftMaster, maybe eight years old.” Or look for the model number on the side of the motor unit. This lets a technician bring the right replacement parts on the first visit.
- Report what you’ve already tried. “I cleaned the sensor lenses and re-aligned them. Same problem.” This saves diagnostic time and eliminates the awkward moment where a tech does the same thing you already did and you get billed for it.
Over the phone, we quote a range for common repairs and confirm the final price before any work starts. The more accurately you describe the problem, the tighter that range becomes. And if your opener is a Wayne Dalton or Raynor, mentioning it early helps, since those units often need brand-specific replacement parts that aren’t on every truck.
Common Mistakes to Avoid
- Spraying WD-40 on everything. WD-40 is a penetrating solvent, not a lubricant. It strips away the grease your rollers and hinges need, and it leaves behind a film that attracts dust. Use a garage-door-specific lubricant, available at any hardware store in Chula Vista.
- Adjusting the springs without training. Torsion springs are wound under enough tension to kill. There is no safe DIY shortcut, no YouTube tutorial that makes it worth it, and no amount of money saved that justifies the risk.
- Running the opener with a broken spring. Every cycle strips a few more teeth off the plastic drive gear inside the opener. A $300 spring repair turns into a $500+ spring and opener repair because the opener burned out trying to lift an unassisted door.
- Replacing the remote batteries when the wall button works and the remote doesn’t. If the wall button opens the door but the remote doesn’t, and fresh batteries don’t fix it, the problem is the opener’s receiver board or the remote’s programming. Don’t throw money at new remotes one at a time.
- Ignoring a slow change in behavior. A door that used to open smoothly and now jerks, or stops mid-travel, or hesitates at the same spot every time, is showing early mechanical wear. These symptoms rarely fix themselves, and they get expensive with every ignored cycle.
- Attempting to straighten a bent track while the door is under spring tension. This is another common Chula Vista injury source. If a track is visibly misaligned, release the opener, and call a professional. The track is under load, and the fix requires releasing tension safely.
- Assuming a new door is the answer. We see homeowners replace a perfectly good door because the opener failed, or replace an opener because the springs are worn. Repair-first thinking saves thousands, and it’s the reason we work on the brand you already have instead of pushing a full replacement.
When to Call a Professional
Here’s the short version. If your problem involves torsion springs, cables under tension, a door that has come off its track, or any repair that requires working above your head with the door under load, call a professional. The cost of a service call in Chula Vista is modest compared to the risk. If your problem involves a circuit board, a stripped gear, or sensor wiring you can’t trace, call a professional too. These are fixable problems, but they frustrate a homeowner into replacing equipment that could have been repaired. Chelsea Garage Door Service offers free estimates in Chula Vista. Call (877) 626-0097 and describe what you’re seeing. We’ll tell you over the phone whether it sounds like a sensor fix you can try yourself or a spring situation that needs a truck roll. No pressure, no upsell, just a straight answer.
Frequently Asked Questions
Most garage door repairs in Chula Vista range from $120 to $400 depending on the component. Sensor alignment or replacement typically runs $80 to $150, roller replacement $120 to $200, circuit board replacement $150 to $300, and torsion spring replacement $180 to $400 depending on whether you have one spring or two. Every reputable company quotes the price and gets your agreement before starting work. Call (877) 626-0097 for an exact quote on your specific problem. Estimates are free.
Yes. Most repairs are completed the same day you call. Broken springs, sensor issues, snapped cables, and opener gear replacements are all same-day jobs when the parts are on the truck. At Chelsea Garage Door Service, we carry parts for LiftMaster, Chamberlain, Genie, Wayne Dalton, Craftsman, and Raynor openers on every truck, so the fix happens on the first visit in most cases.
The price you’re quoted over the phone is the price you pay unless the technician finds an additional broken part. If that happens, you’ll be shown the problem and the new price before any additional work starts. Nothing gets done without your approval. This is the only honest way to run a garage door repair business in Chula Vista, and any company that won’t commit to it isn’t worth your call.
A door that reverses before closing almost always traces back to the safety sensors: dirty lenses, misaligned brackets, sun interference, or a wiring issue. The fix order is clean, align, shade, then check force settings. If all of that fails, the travel limit needs adjustment. This is the most common “false alarm” repair we handle in Chula Vista, and it’s frequently resolved in under 30 minutes.
We work on the brand you already have. Our technicians are trained on eight major product lines including LiftMaster, Chamberlain, Genie, Clopay, Amarr, Wayne Dalton, Craftsman, and Raynor. We repair what exists on your ceiling and in your tracks rather than pushing a replacement from a brand we happen to sell. That brand-agnostic approach means our recommendation fits your home and your budget, not a dealer agreement.
Pull the red emergency release cord and lift the door by hand. If it opens smoothly and stays in place, the door’s mechanical system is fine and the problem is in the opener. If it’s heavy or stuck, the door itself has a problem, usually a broken spring. This 60-second test is safe to do and saves you from paying a technician to do something you can diagnose yourself before you even call.
The Bottom Line
Garage door troubleshooting comes down to isolating the branch: mechanical, drive, or safety. The manual disconnect test does that in under a minute. Blink codes from your opener give you the specific fault for free. Sensor issues are the most common false alarm, and spring failures are the one problem you should never attempt yourself. When you call a technician, describe your problem by branch, sound, and timing, and name your opener brand. The right information gets you the right parts on the first visit and a quote you can trust. If you’re in Chula Vista and need help, we’re here. Garage doors are all we do. For more guides & resources, visit our blog.
For more on specific services, see our Chelsea Garage Door Service home page, or read about Garage Door Repair in Chula Vista, Garage Door Opener Repair in Chula Vista, and Garage Door Installation in Chula Vista.
Call (877) 626-0097 for a free estimate. We answer the phone, ask the right questions, and show up when we say we will.
Written by the team at Chelsea Garage Door Service, serving Chula Vista since 2014.
See the difference
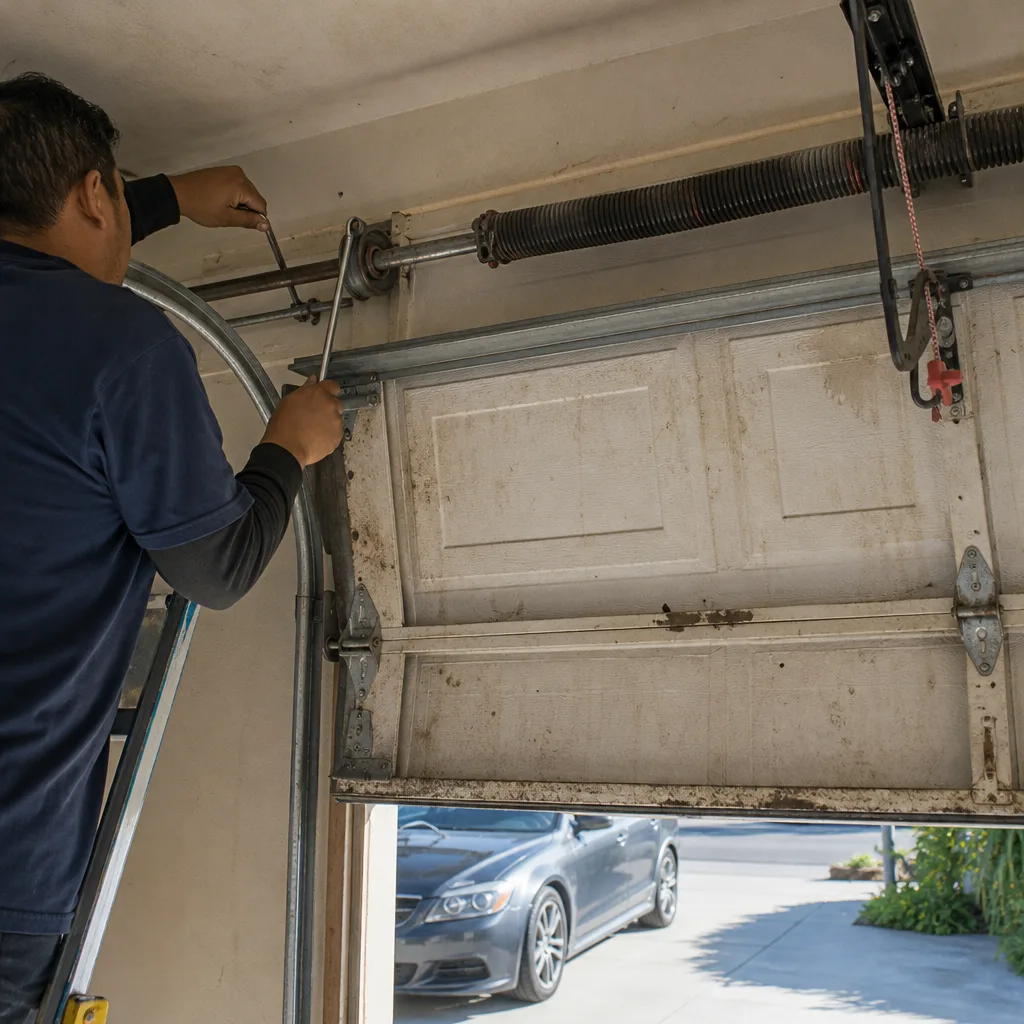 Before
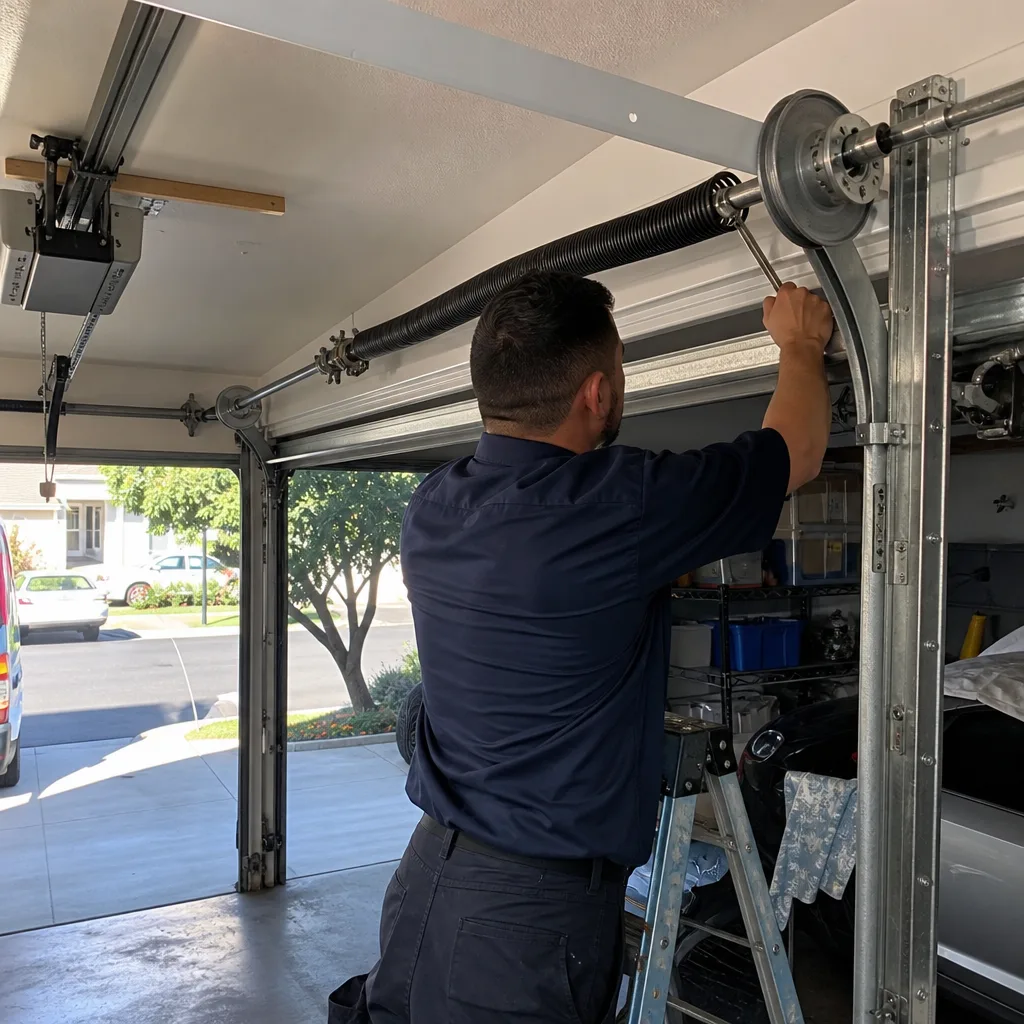 After
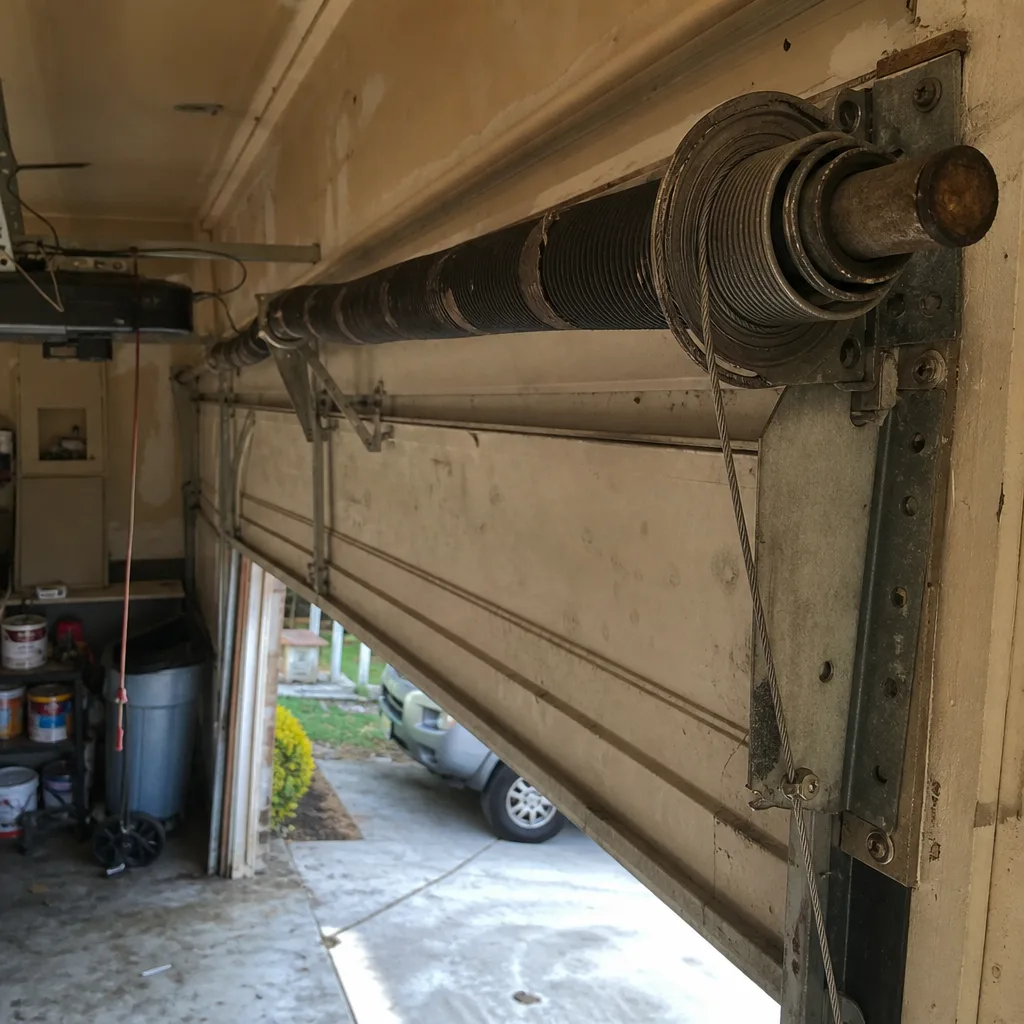 Before
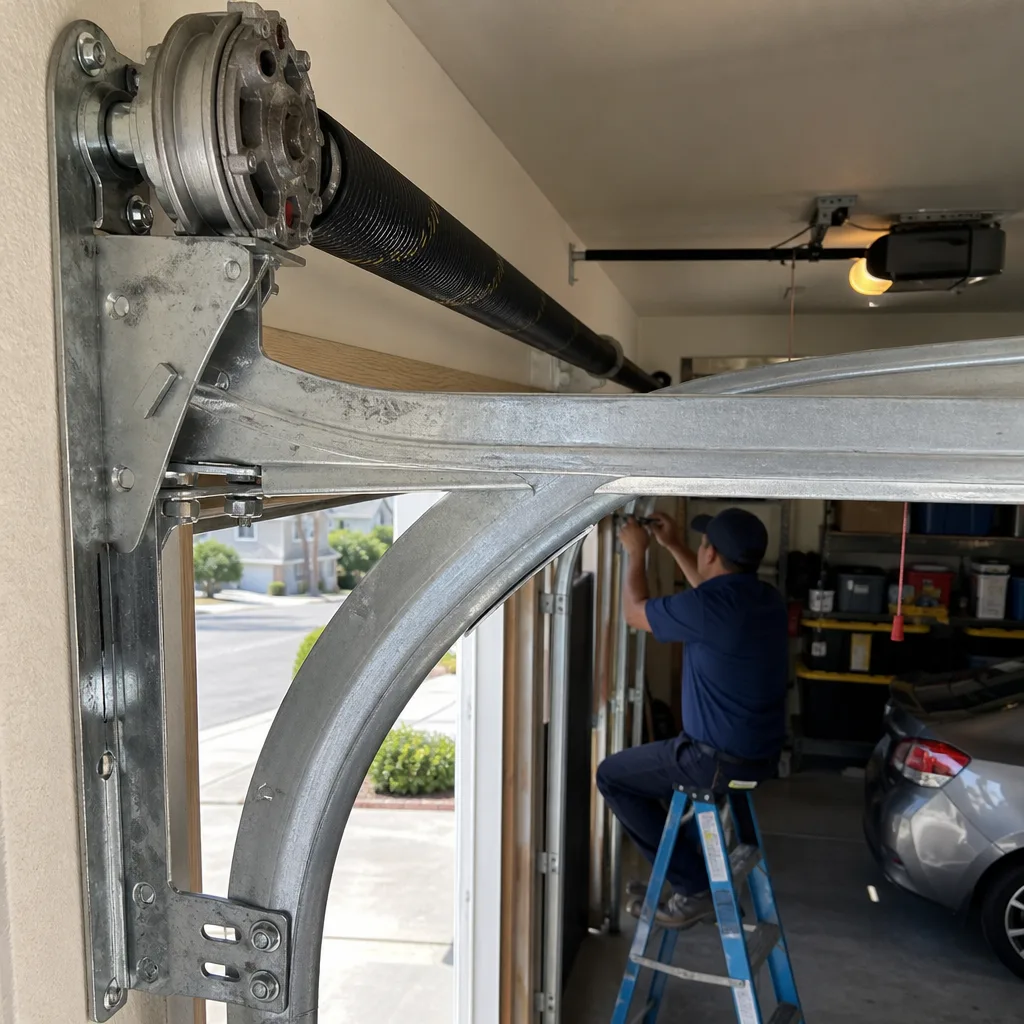 After
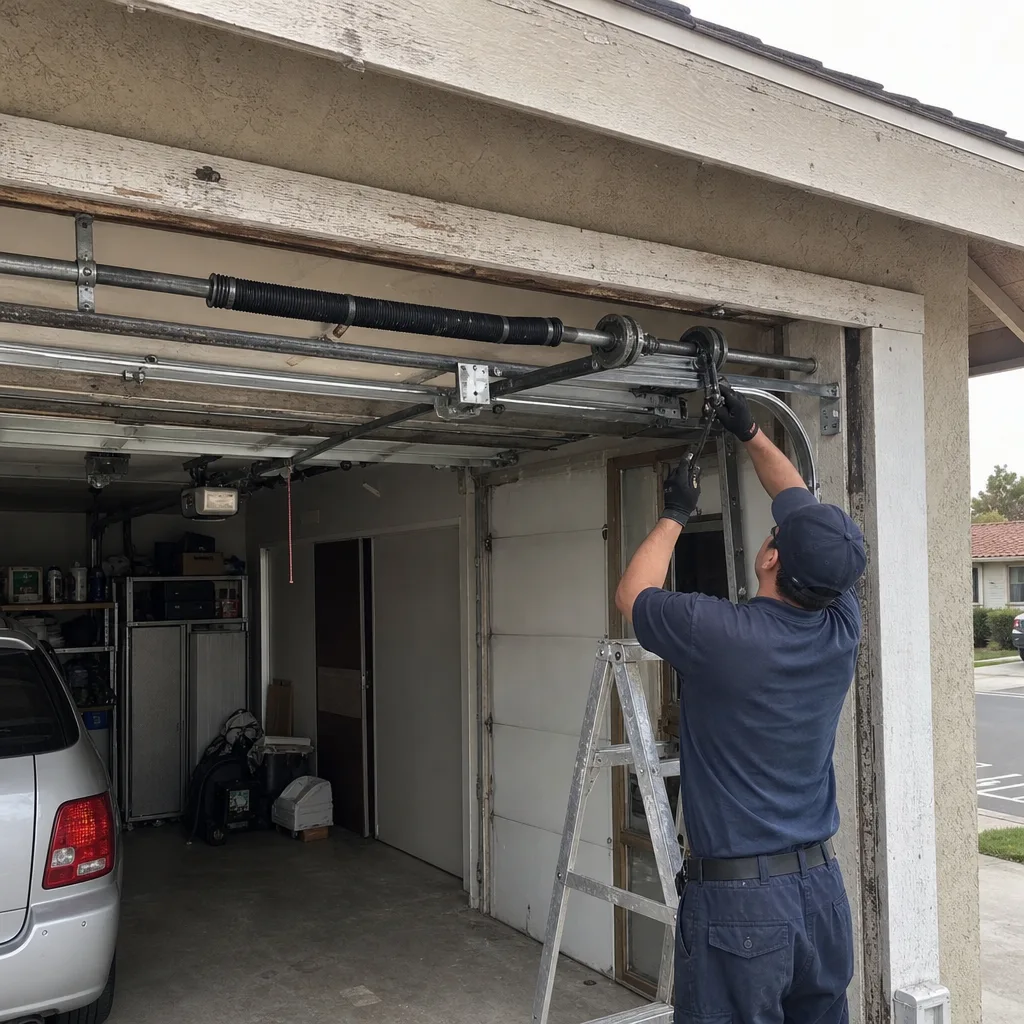 Before
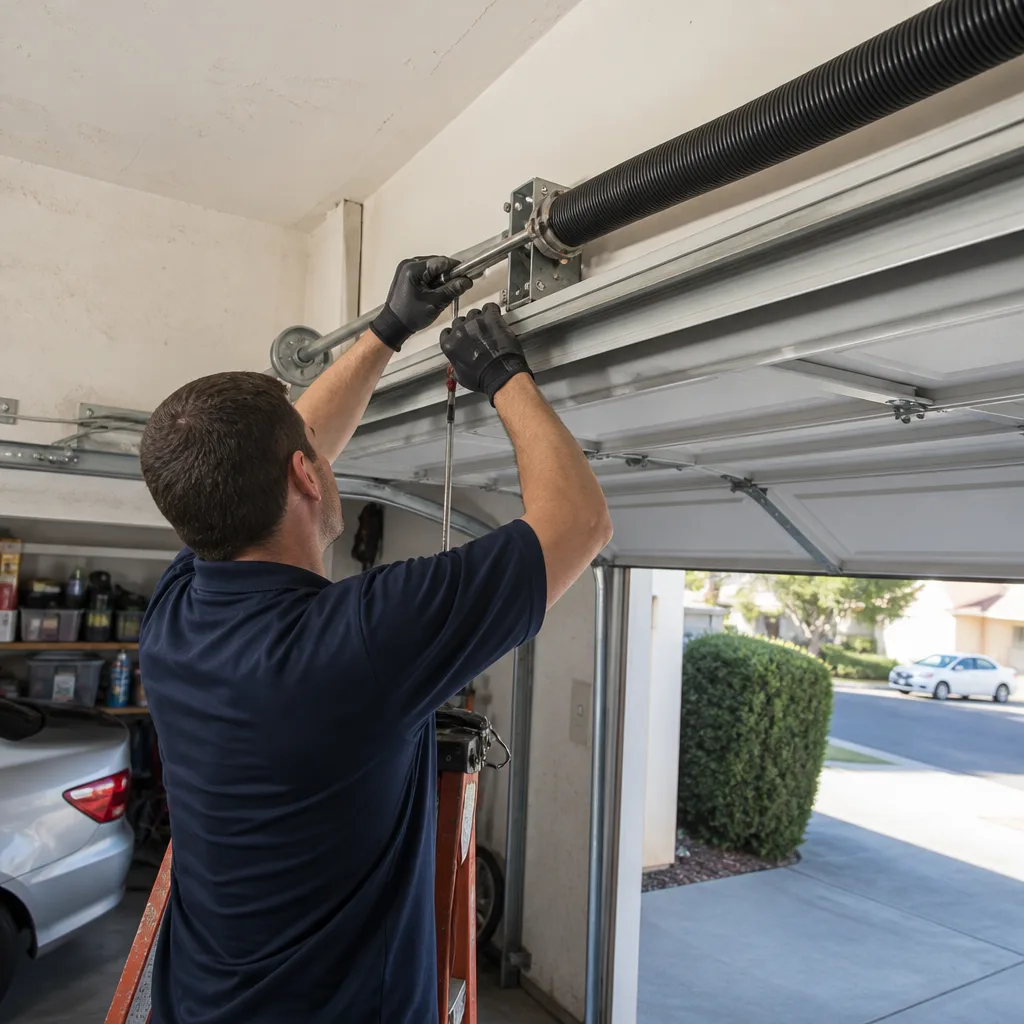 After