
Last updated October 31, 2026
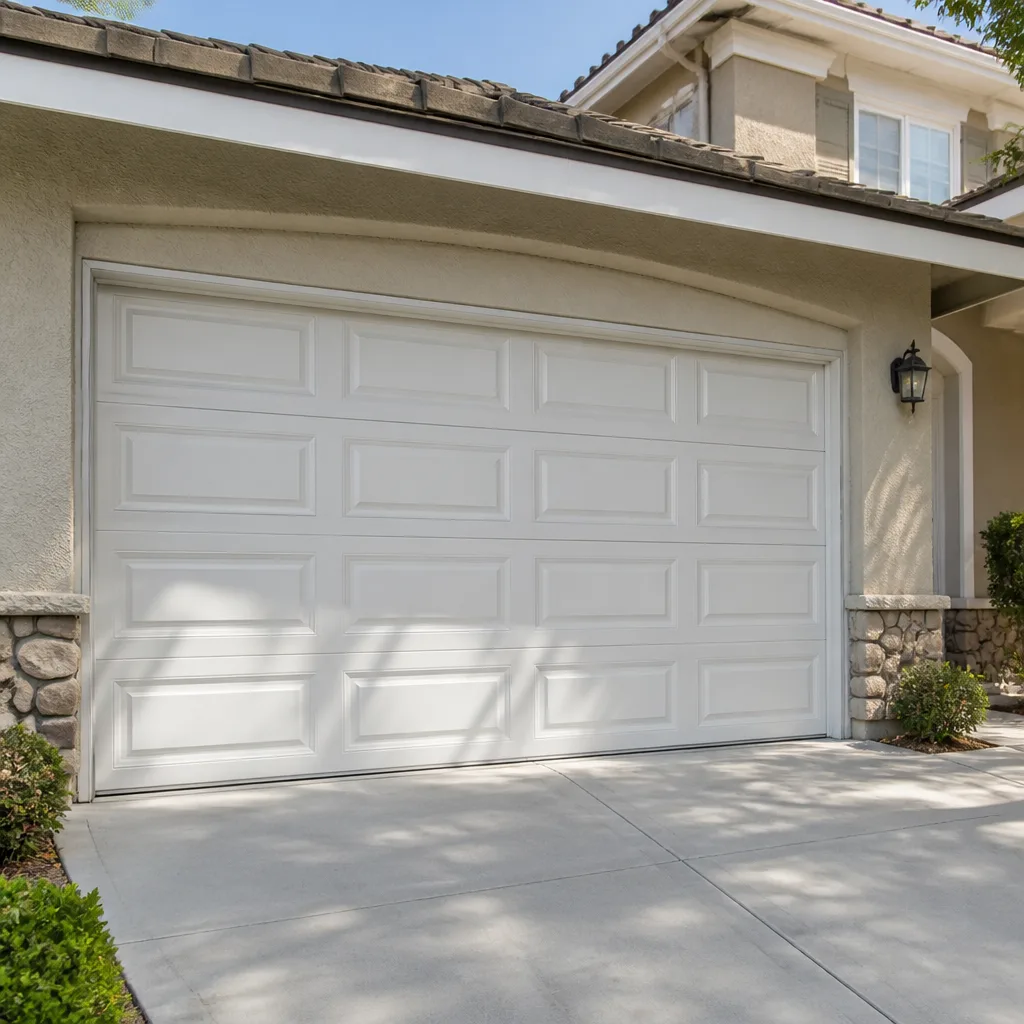 Raised-panel steel
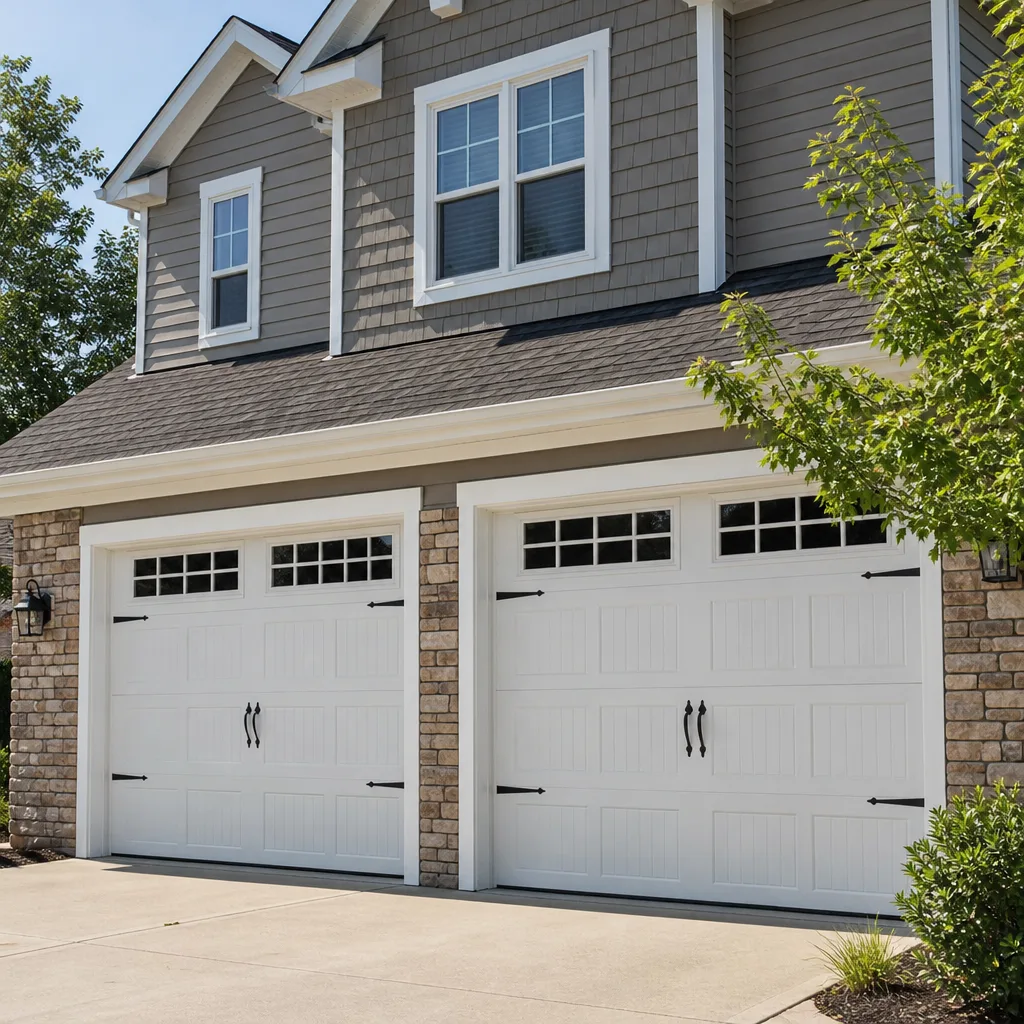
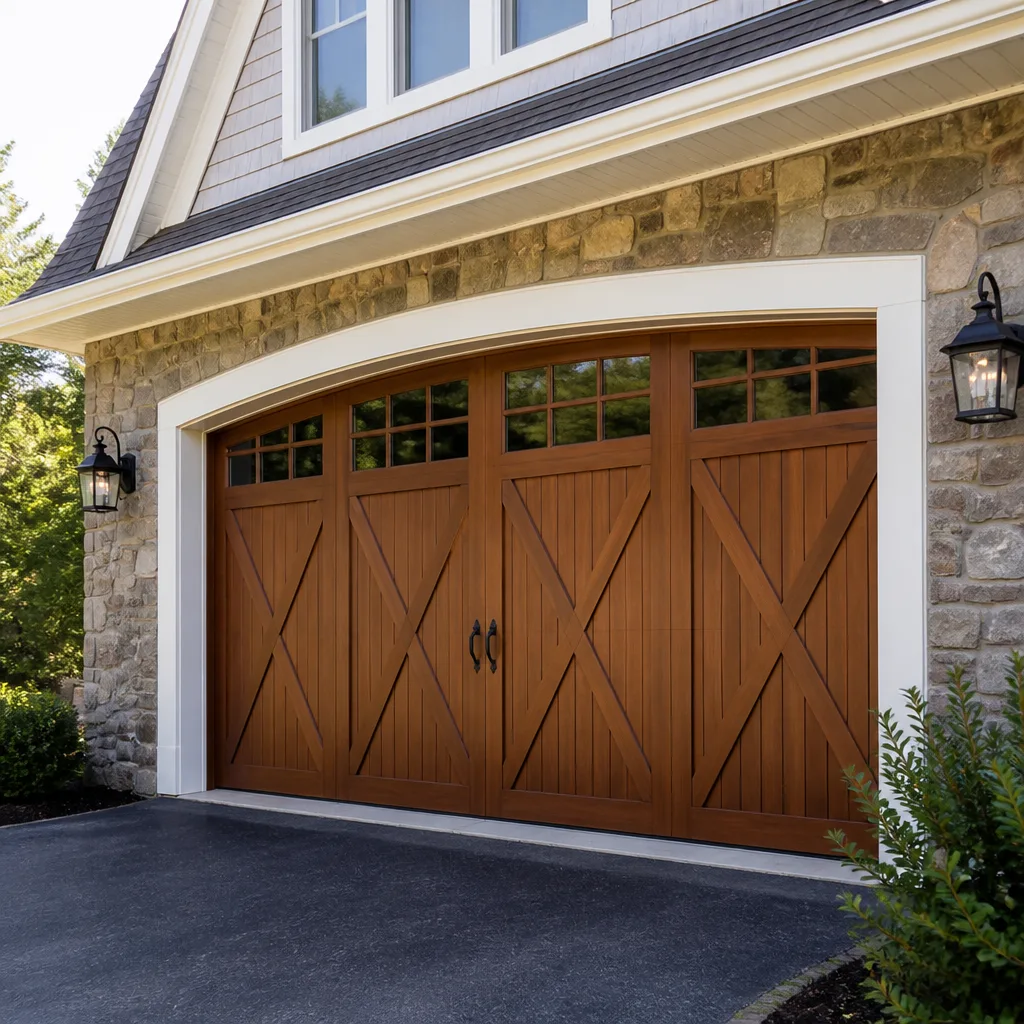 Carriage house
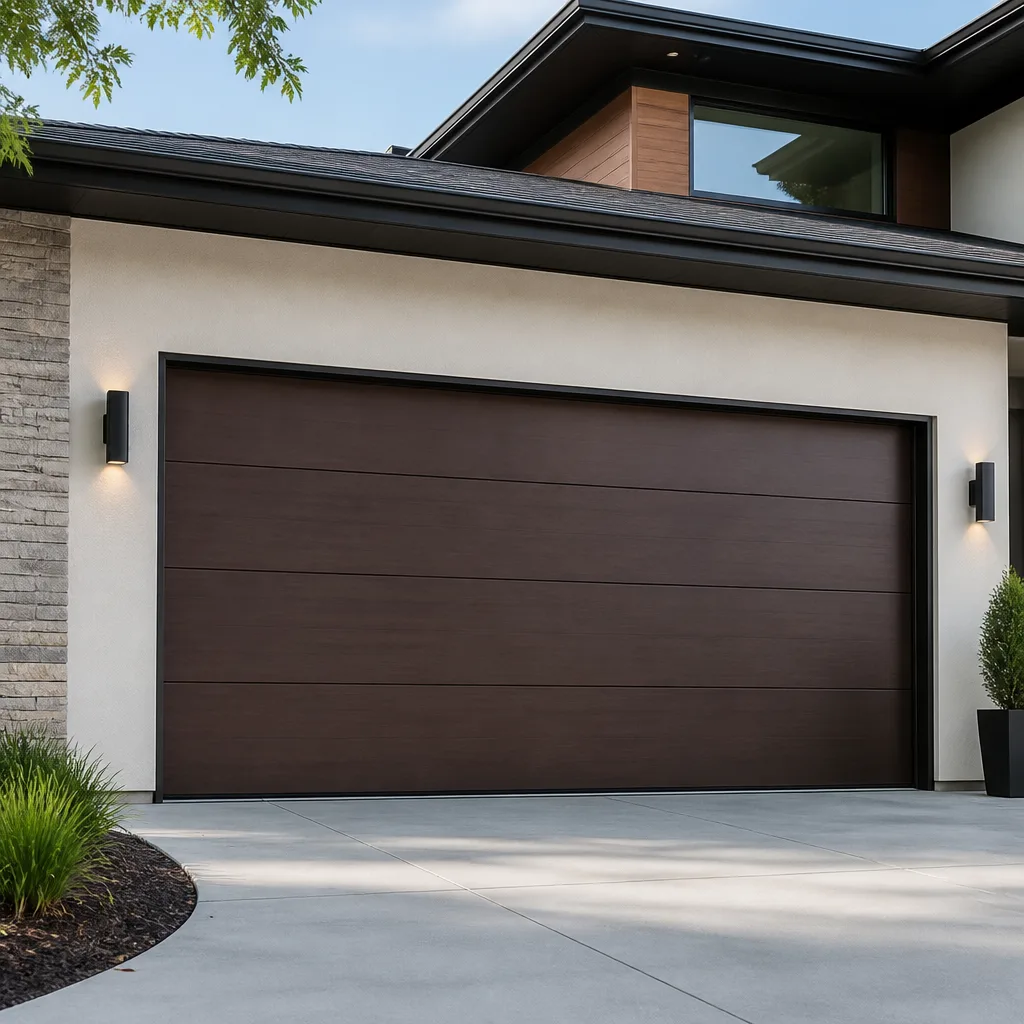 Modern flush
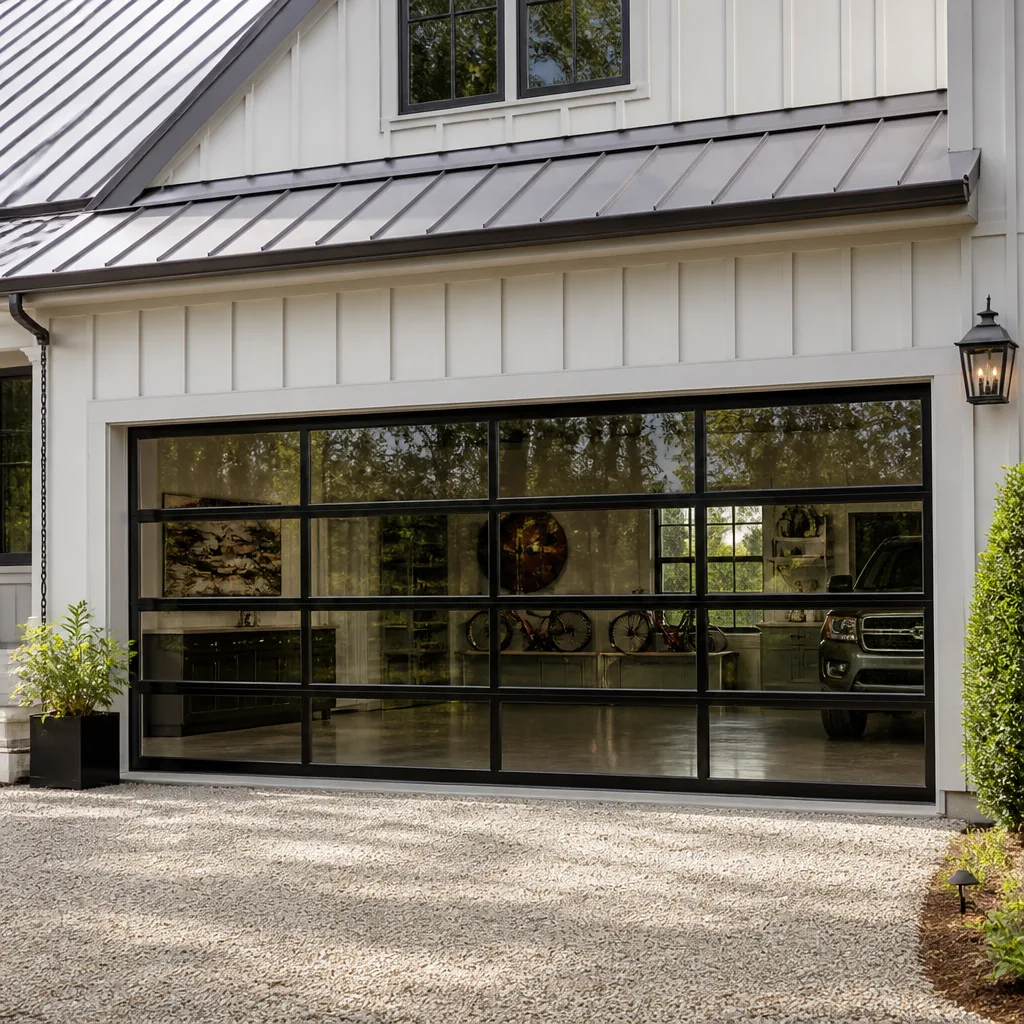 Full-view glass
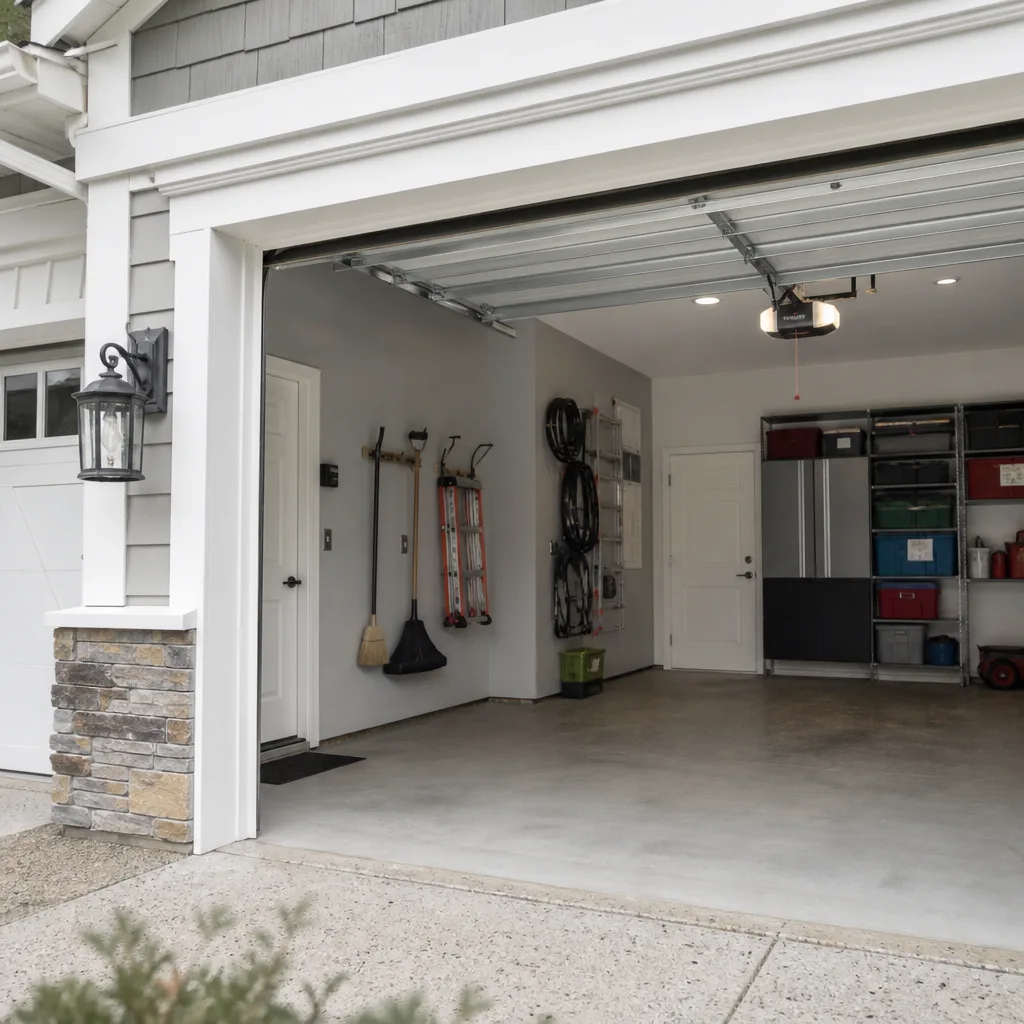 LiftMaster openers
 Chamberlain openers
Full 25-point door and opener safety check with every visit - springs, cables, rollers, tracks, and your LiftMaster or Chamberlain opener included
You get a price before we start. It does not change when the truck arrives.
Get your free estimateGarage Door Repair Maintenance Checklist for Chula Vista Homeowners
The number-one call we get in Chula Vista isn’t broken springs. It’s corroded bottom brackets and snapped cables on doors that were “maintained” with the wrong lubricant on hardware that was never rated for coastal humidity. Homeowners follow generic checklists they found online, do everything “right,” and still end up with a door that fails three years early because the advice was written for a dry inland climate, not a salt-air environment three miles from San Diego Bay. This guide is the maintenance sequence we actually use when we diagnose doors across Eastlake, Otay Ranch, Rolling Hills Ranch, and the older neighborhoods west of the 805. It’s ordered by what breaks first in Chula Vista specifically, not what breaks first in Minneapolis.
Quick Answer
A Chula Vista garage door maintenance routine should include four checks every 90 days: visual inspection of rollers, hinges, cables, and bottom brackets for salt-air corrosion; lubrication of moving metal parts with a silicone-based spray (never WD-40); a balance test and safety reversal test on the opener; and a full operational cycle listening for changes in noise or speed. Homes within five miles of the bay should double that frequency because coastal humidity accelerates oxidation on every uncoated metal component. If you find rust pitting, frayed cable strands, or a door that won’t hold position halfway up, stop and call a professional for Garage Door Repair before the door fails under load.
Styles & brands we work with
Table of Contents
- The Coastal Corrosion Check: Where Chula Vista Doors Actually Fail
- Lubricant Selection: Why WD-40 Is Wrong and What to Use Instead
- Frequency Adjustments: Why Once a Year Isn’t Enough Near the Bay
- Opener-Specific Checks by Brand: LiftMaster, Genie, and Chamberlain
- HOA and Warranty Documentation: How to Keep Records That Matter
- The 15-Minute Seasonal Checklist: Step by Step
- Common Mistakes to Avoid
- When to Call a Professional
- Frequently Asked Questions
- The Bottom Line
The Coastal Corrosion Check: Where Chula Vista Doors Actually Fail
In our experience working on garage doors across Chula Vista, the failure pattern is remarkably consistent. It’s not the big dramatic parts that go first. It’s the small, uncoated metal components that sit in the path of salt-laden air every single day.
Here’s what actually fails, in order of frequency, on doors within five miles of San Diego Bay:
1. Bottom brackets
The bottom bracket is the L-shaped steel piece that connects the lift cable to the bottom corner of the door. It sits lowest to the ground, where moisture collects and where salt spray settles. On doors in Eastlake and Otay Ranch that are 8 to 12 years old, we regularly see bottom brackets so corroded that the cable slot has widened, allowing the cable to slip or fray against rough edges. A corroded bottom bracket under tension is a serious safety hazard. If you see white or green powder, flaking metal, or rust staining around the bolt holes, do not attempt to remove it yourself. The cable is under several hundred pounds of tension and can release violently. This is a call-a-professional situation, not a DIY repair.
2. Lift cables
Garage door cables are made of twisted steel strands. In Chula Vista’s coastal air, the outer strands begin oxidizing long before they break. Look for reddish-brown discoloration, fuzzy or frayed strands, or a cable that looks thinner in one section than another. If you see any of these, replace the cable immediately. A snapped cable turns a 150-pound door into a falling object with no controlled descent.
3. Roller bearings
Rollers have sealed bearings, but “sealed” is relative. Salt air works its way in over time. The first sign is a grinding or squeaking sound during operation, or a roller that wobbles visibly in the track. Nylon rollers with stainless steel bearings last longer in Chula Vista than steel rollers with zinc bearings. If you’re replacing rollers, choose nylon with stainless bearings – the cost difference is modest, and the lifespan difference in a coastal climate is significant.
4. Hinge pins and plates
Hinges are stamped steel and typically unpainted on the inside surfaces. Oxidation starts where the hinge pin meets the plate. Look for rust-colored dust dripping from hinge points, or hinges that feel stiff when the door moves. A seized hinge increases the load on every other component and shortens the life of the opener motor.
5. Track bolts and brackets
Galvanized track bolts resist rust better than raw steel, but the brackets holding the track to the wall are often painted mild steel. Check the bolt heads where the horizontal track meets the vertical track, and the wall brackets near the floor. Surface rust is cosmetic and treatable with a wire brush and rust-inhibiting paint. Deep pitting or bolts that have lost their edges need replacement.
If you’re checking a door that was installed before 2015 in Chula Vista, the odds are high that at least one of these components shows early-stage corrosion. The question is whether you catch it before it fails under load.
Lubricant Selection: Why WD-40 Is Wrong and What to Use Instead
The single most common maintenance mistake we see in Chula Vista garages is WD-40 on garage door hardware. WD-40 is a water displacer and penetrating solvent, not a lubricant. It strips away whatever protective coating exists, provides about three days of marginal lubrication, and then leaves the metal drier and more exposed than it was before. In a humid coastal climate, that accelerates corrosion rather than preventing it.
Here’s what belongs on which component:
Silicone spray (dry-film or wet)
Use silicone spray on: rollers, hinges, springs, and the opener chain or screw drive. Silicone doesn’t attract dust, doesn’t wash off in humid air, and provides the right viscosity for garage door components. Apply a light coat to the roller bearings, hinge pivot points, and the torsion spring above the door. Don’t soak anything. If lubricant is dripping down the door, you’ve used too much.
White lithium grease
Use white lithium grease on: the opener rail (for chain and screw drive units), the lock mechanism, and any metal-on-metal contact points that silicone spray doesn’t quiet down. Lithium grease is heavier and stays in place longer, but it does attract dust. In Chula Vista’s dry summer months, dust accumulation on greased parts is real. Use it sparingly and wipe off excess.
What goes where, at a glance
- Rollers: Silicone spray on the bearing area, not the wheel surface that touches the track
- Hinges: Silicone spray on the pivot pins
- Torsion springs: Silicone spray along the full length of the spring coils
- Opener chain: White lithium grease on the chain links
- Opener screw drive: White lithium grease on the screw threads
- Locks and latches: Dry graphite or white lithium grease
- Track: Nothing. Clean it with a rag, but never lubricate the track itself – it causes roller slippage
One Chula Vista specific note: in the spring months, morning marine layer fog leaves condensation on garage door hardware. A proper silicone coating helps that moisture bead off rather than sitting on the metal. That’s the difference between hardware that lasts 15 years here and hardware that needs replacement in 8.
Frequency Adjustments: Why Once a Year Isn’t Enough Near the Bay
Generic garage door maintenance advice says “inspect once a year.” That guidance was written for inland climates where a garage door sees predictable seasons and mild humidity swings. Chula Vista isn’t that climate.
Here’s what our technicians observe across the city’s distinct microclimates:
West of the 805 (within 3 miles of the bay)
Neighborhoods like Rancho del Rey, Terra Nova, and the older streets near Hilltop get consistent morning fog and salt air. Hardware here typically shows visible oxidation within 12 to 18 months of installation. Doors in this zone benefit from inspection every 60 to 90 days, with lubrication at least every 90 days. The telltale sign in this zone is rust on the bottom bracket bolt heads before the door is five years old.
East of the 805 (3 to 7 miles inland)
Eastlake, Otay Ranch, and Rolling Hills Ranch get less direct marine influence, but the canyons funnel coastal air inland during the afternoon onshore flow. Oxidation happens slower but still faster than the inland standard. Doors here should be inspected every 90 to 120 days. The first sign in this zone is typically a stiff hinge or a noisy roller, not visible rust.
East of the 125 (7+ miles inland)
The farthest east reaches of Chula Vista, toward the Otay foothills, have a drier climate and see the slowest corrosion. Homes here can often maintain on a standard 6-month schedule, but summer heat stress on springs and opener motors becomes the more relevant factor. Rubber and nylon components dry out and crack faster in the heat.
The practical takeaway: if you can see the bay from your street, you’re on a 90-day maintenance schedule whether the generic checklists say so or not. The good news is that a complete inspection and lubrication takes about 15 minutes once you know what to look for. We’ve included the full sequence below.
Opener-Specific Checks by Brand: LiftMaster, Genie, and Chamberlain
Most maintenance checklists treat the garage door opener as an afterthought. That’s a mistake, because the opener is doing the heavy lifting every single cycle, and the safety systems it relies on differ meaningfully by brand. Training across the eight major brands we service – including LiftMaster, Chamberlain, Genie, Clopay, Amarr, Wayne Dalton, Craftsman, and Raynor – means we diagnose opener issues by brand-specific behavior, not by guesswork. Here’s what to check, by brand, on the two most common openers in Chula Vista garages.
LiftMaster and Chamberlain (same parent company, shared safety systems)
LiftMaster and Chamberlain openers use a safety reversal system that must be tested monthly. Here’s the sequence:
- Place a 2×4 piece of wood flat on the floor in the center of the door opening
- Close the door using the wall button or remote
- Watch for the door to reverse within two seconds of contacting the wood
- If it doesn’t reverse immediately, or if it pushes down hard before reversing, the force limit needs adjustment or the opener needs service
LiftMaster openers also have a diagnostic LED on the motor unit that blinks in code patterns. A single blink is normal. Five blinks indicates a motor overheat or RPM sensor fault. If you see repeated blinking codes, write down the pattern and call a technician who works on LiftMaster systems – the codes are brand-specific and misdiagnosing them wastes time and money.
Genie
Genie openers use a different safety system, often with an infrared safety beam and a force detection system. On Genie units, the critical check is the contact reversal calibration, which behaves differently than LiftMaster. The force limit is often set by a dial or digital menu on the motor head. If your Genie opener reverses partway up or won’t close fully on cold mornings, the force limit is likely drifting. This is a calibration issue we see regularly in Chula Vista when late-fall temperature drops change how the door hardware behaves. A Genie opener that was calibrated in August often needs adjustment in November as the metal contracts and the door moves differently.
Chamberlain
Chamberlain openers share the LiftMaster safety system but often use belt drives, which are quieter but require correct belt tension. A slipping or chattering belt is a sign the tension needs adjustment. Check the belt visually: it should be taut with about a quarter inch of deflection when pressed. A loose belt accelerates wear on the drive gear and shortens opener life by years.
Universal checks for every brand
- Test the auto-reverse safety sensor monthly using the 2×4 method above
- Check that the photo eye sensors at the bottom of the door track are clean and aligned (Chula Vista garages near the coast collect salt film on the sensor lenses)
- Listen to the opener during a full cycle – any grinding, straining, or change in pitch is a diagnostic signal
- Check the emergency release rope is intact and hangs freely, not tangled in the rail
- Check that the opener mounting bolts are tight and the motor unit is level
If you’re ever unsure which safety systems your opener has or whether they’re functioning correctly, Garage Door Opener Repair in Chula Vista is a diagnostic-first service – we test the reversal system, force limits, and photo sensors on every call, regardless of what the original complaint was.
HOA and Warranty Documentation: How to Keep Records That Matter
Chula Vista has a high concentration of HOA-governed communities – Eastlake, Otay Ranch, and Rolling Hills Ranch all have active associations with architectural guidelines. Garage doors are often the most visible element of the home’s street frontage, which means maintenance and appearance matter. Here’s how to keep records that protect you.
What to document
- Every maintenance session: date, what you inspected, what you lubricated, and any observations. A simple notes app entry is sufficient.
- Every repair or part replacement: the part, the date, and who did the work. Keep receipts.
- Photos before and after any visible change: rust remediation, paint touch-ups, hardware replacement. HOA disputes about door condition are settled with documentation, not arguments.
- Opener safety test results: a monthly note of “reversal test passed” creates a safety record that matters if a liability question ever arises.
Why it matters for warranty preservation
Door manufacturers like Clopay, Amarr, and Wayne Dalton include finish warranties and hardware warranties on many models. Those warranties have maintenance requirements in the fine print – often requiring that moving parts be lubricated, that rust be treated, and that the door be kept in operational condition. If you file a warranty claim for a corroded bottom bracket or a failed spring and you can’t show a maintenance history, the claim often gets denied on the grounds of neglect. A sparse maintenance log you can show is worth far more than a detailed one that doesn’t exist.
For doors still under warranty, keep the manufacturer’s maintenance checklist handy and follow it. If the manufacturer specifies a lubricant type, use that type. If you’ve lost the paperwork, most manufacturers publish maintenance guides online by model number.
If you’re in an HOA community and your door needs work that affects street visibility, we recommend having the work done proactively rather than waiting for an HOA notice. Proactive replacement of a corroded bottom bracket or painting of a rusting track looks better to the association and avoids the compliance letter that often follows visible deterioration.
The 15-Minute Seasonal Checklist: Step by Step
Here’s the complete sequence, in order. This is the same sequence our technicians use when they work through a full maintenance visit in Chula Vista garages. It’s designed to catch coastal corrosion issues before they become failures.
Step 1: Visual inspection of cables and bottom brackets (2 minutes)
With the door closed, look at both bottom brackets. Check for rust powder, white or green oxidation, or loose bolts. Then follow each cable up to the drum at the top of the door. Look for frayed strands, discoloration, or thinning. If the cable looks fuzzy or has broken strands, stop and call a professional. Do not operate the door again until it’s inspected.
Step 2: Roller and hinge check (3 minutes)
Open the door to waist height and lock it in place if you have a manual locking mechanism. If not, pull the emergency release and let the door rest on the floor. Look at each roller from the side. Rock it back and forth with your fingers – there should be minimal play. A roller that wobbles more than an eighth of an inch is worn. Check each hinge for rust at the pin, and listen for grinding as the door moves through its cycle.
Step 3: Spring inspection (2 minutes)
Look at the torsion spring above the door (or the extension springs along the horizontal tracks on older doors). Check for gaps between coils, which indicate spring fatigue, and for surface rust. A spring with gaps, rust, or visible wear is a failure waiting to happen. Torsion springs are under extreme tension – do not touch them, adjust them, or lubricate them with anything but a spray applied from a distance. If a spring shows wear, call a professional. Springs on most residential doors last 7 to 12 years depending on cycle frequency, and homes with daily multi-car use see shorter lifespans.
Step 4: Lubricate (4 minutes)
Apply silicone spray to roller bearings, hinge pins, and the torsion spring coils. Apply white lithium grease to the opener chain or screw drive if applicable. Wipe off any excess. Never lubricate the track.
Step 5: Opener safety test (2 minutes)
Run the reversal test using the 2×4 method described in the opener section above. If the door doesn’t reverse within two seconds of contacting the wood, the opener needs adjustment. Test the photo eyes by waving your hand across the beam while the door is closing – it should stop and reverse immediately.
Step 6: Balance test (2 minutes)
Pull the emergency release cord and lift the door manually to waist height. It should stay in place without drifting up or down. A door that falls quickly when released has a spring problem. A door that rises on its own has too much spring tension. Either condition puts excessive strain on the opener and shortens its life.
Step 7: Clean the photo eye lenses (1 minute)
Wipe the safety sensor lenses at the bottom of the track with a dry cloth. In Chula Vista’s coastal zones, salt film builds up on these lenses and causes intermittent reversal failures – a frustrating problem that’s solved with a rag in 30 seconds.
That’s the full sequence. Fifteen minutes, every 90 days for homes near the bay, every 6 months for homes east of the 125, and you’ll catch most failures before they happen. If you’re not comfortable doing any step – especially anything involving cables or springs – Garage Door Repair in Chula Vista is what we do every day. A professional inspection costs less than a sprung cable repair, and significantly less than a door that falls on a car.
Common Mistakes to Avoid
- Using WD-40 on everything. It displaces moisture in the short term but strips protective coatings and accelerates corrosion in Chula Vista’s salt air. The damage shows up six months later as seized hinges and noisy rollers.
- Lubricating the track. The track isn’t a moving part. It’s a guide. Lubricant on the track makes rollers slip, which changes the door’s balance point and causes the opener to work harder. If your track is noisy, clean it with a rag and check the rollers instead.
- Ignoring early rust. Surface rust on a bottom bracket is a 15-minute cleanup if caught early. Ignored for two years in coastal air, it becomes a bracket replacement that requires releasing cable tension – a professional job, not a weekend project.
- DIY spring adjustment. Torsion springs kill people every year. The tension in a wound spring is more than enough to cause serious injury or death if released incorrectly. This is the one area where the DIY math never works out.
- Skipping the safety reversal test. The auto-reverse system is the only thing standing between a closing door and a child, pet, or car. Most openers in Chula Vista that fail our safety testing have never been tested since installation. Test it monthly.
- Painting over rust without treating it. Rust under paint continues spreading. Treat the area with a rust converter first, then paint. This is a basic step that doubles the life of steel hardware in coastal environments.
- Replacing hardware with generic parts. A bottom bracket from a hardware store often doesn’t match the door’s engineering specs. If you’re replacing parts, use parts that match the door brand – or call a specialist who stocks the right components.
When to Call a Professional
Some maintenance items are genuinely DIY. Some are genuinely dangerous. The line between them is not always obvious, which is why we see so many Chula Vista garages with half-finished DIY repairs and doors that are worse off than before the work started.
Call a professional when: the torsion spring shows any wear, gaps, or rust; a cable is frayed or has broken strands; the door won’t stay in place at waist height; the opener fails the safety reversal test; any bolt on the bottom bracket or track is loose and won’t tighten; or you hear a noise that you’ve never heard before during normal operation. Chelsea Garage Door Service offers free estimates in Chula Vista – call (877) 626-0097 and we’ll tell you what you’re dealing with, whether it’s a quick fix or a full diagnostic.
Frequently Asked Questions
A professional garage door maintenance visit in Chula Vista typically costs $89 to $150, depending on the door type and whether parts need replacement. Lubrication-only service runs at the lower end. Full inspections that include cable, spring, roller, and opener safety testing run higher. Call (877) 626-0097 for an exact quote – estimates are free, and the price is agreed before any work starts.
Homes within five miles of San Diego Bay should lubricate garage door hardware every 90 days. Homes east of the 125 can typically maintain on a 6-month schedule. The difference is driven by salt air corrosion rates, which are significantly higher on the coastal side of Chula Vista than inland.
Silicone spray is the right lubricant for rollers, hinges, and springs in Chula Vista’s coastal humidity. It doesn’t attract dust, it resists moisture, and it won’t wash off in the marine layer condensation we see most mornings. White lithium grease belongs on opener chains and screw drives. WD-40 should not be used on garage door hardware at all.
No. Torsion springs are under several hundred pounds of tension and the release of that tension can be fatal if done incorrectly. This is the single most dangerous DIY repair in residential maintenance. Call a professional with the right winding tools and experience.
Microclimate matters in Chula Vista. Homes west of the 805 get morning marine layer fog and salt air that accelerates corrosion. Homes east of the 125 are drier and see slower rust but faster rubber deterioration from summer heat. Elevation, canyon orientation, and distance from the bay all affect how quickly hardware oxidizes.
No. At Chelsea Garage Door Service, the price is quoted and agreed before any work starts. If we find additional issues during the diagnostic, we’ll show you what we found and quote the additional work separately. You approve it, or you don’t. The original quote doesn’t change.
The Bottom Line
Chula Vista garage doors fail differently than garage doors in inland cities. The salt air, the morning marine layer, and the daily temperature swings mean that corrosion – not mechanical wear – is the primary enemy. A maintenance routine built for this climate catches bottom bracket rust, cable fraying, and roller bearing failure before they become emergency calls. Lubricate with the right products on the right schedule, test your opener’s safety systems monthly, document what you do, and never touch the springs yourself. If you’d rather have a trained eye on it, we’re the multi-brand specialist that works on what you already have – LiftMaster, Genie, Clopay, Amarr, Wayne Dalton, Craftsman, and more. One call for the door and the opener, no guesswork, no upsell pressure. Garage doors are all we do.
Contact Chelsea Garage Door Service
If you’ve spotted corrosion, heard a new noise, or just want a professional’s read on the condition of your door before it becomes a problem, we’re here. Chelsea Garage Door Service offers free estimates and repair-first guidance across Chula Vista, from the bay side to the foothills. We work on the brand you already have, we diagnose the whole system in one visit – door and opener – and we’ll tell you honestly whether something needs fixing now or can wait. Call (877) 626-0097 to schedule a maintenance inspection or get a quote. If you’re planning a new door, we’ll guide you through Garage Door Installation in Chula Vista without bias toward any single brand. The goal is the right door for your home and your budget, nothing else. Learn more about Chelsea Garage Door Service home and how our Chula Vista team works.
Written by the team at Chelsea Garage Door Service, serving Chula Vista since 2014.
See the difference
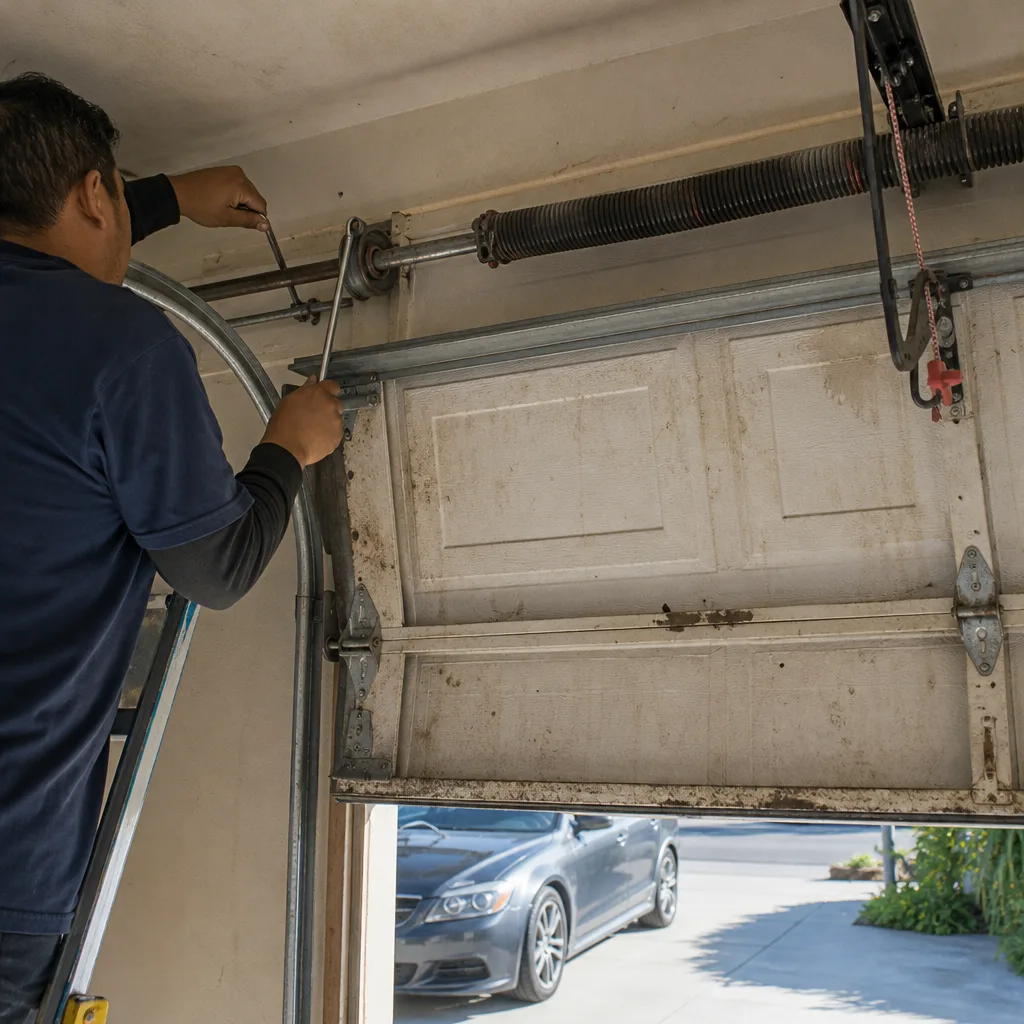 Before
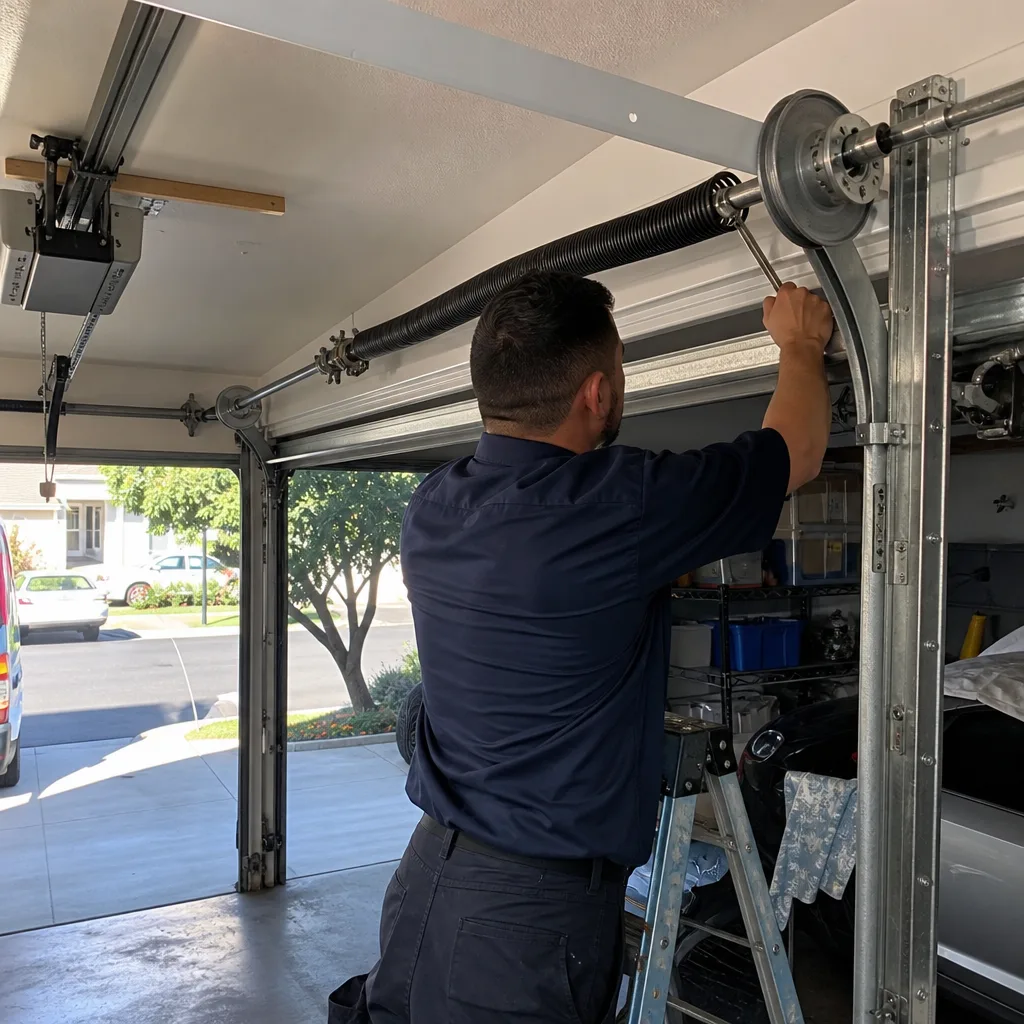 After
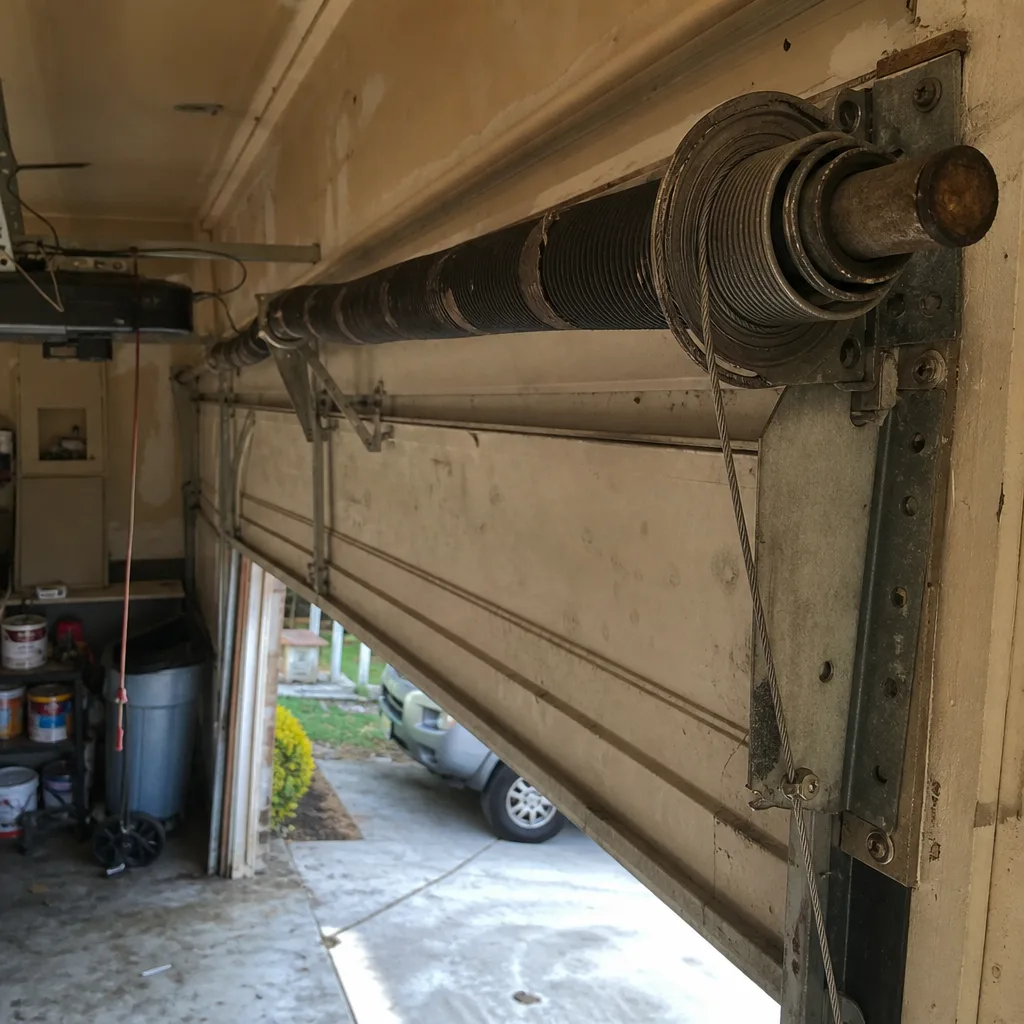 Before
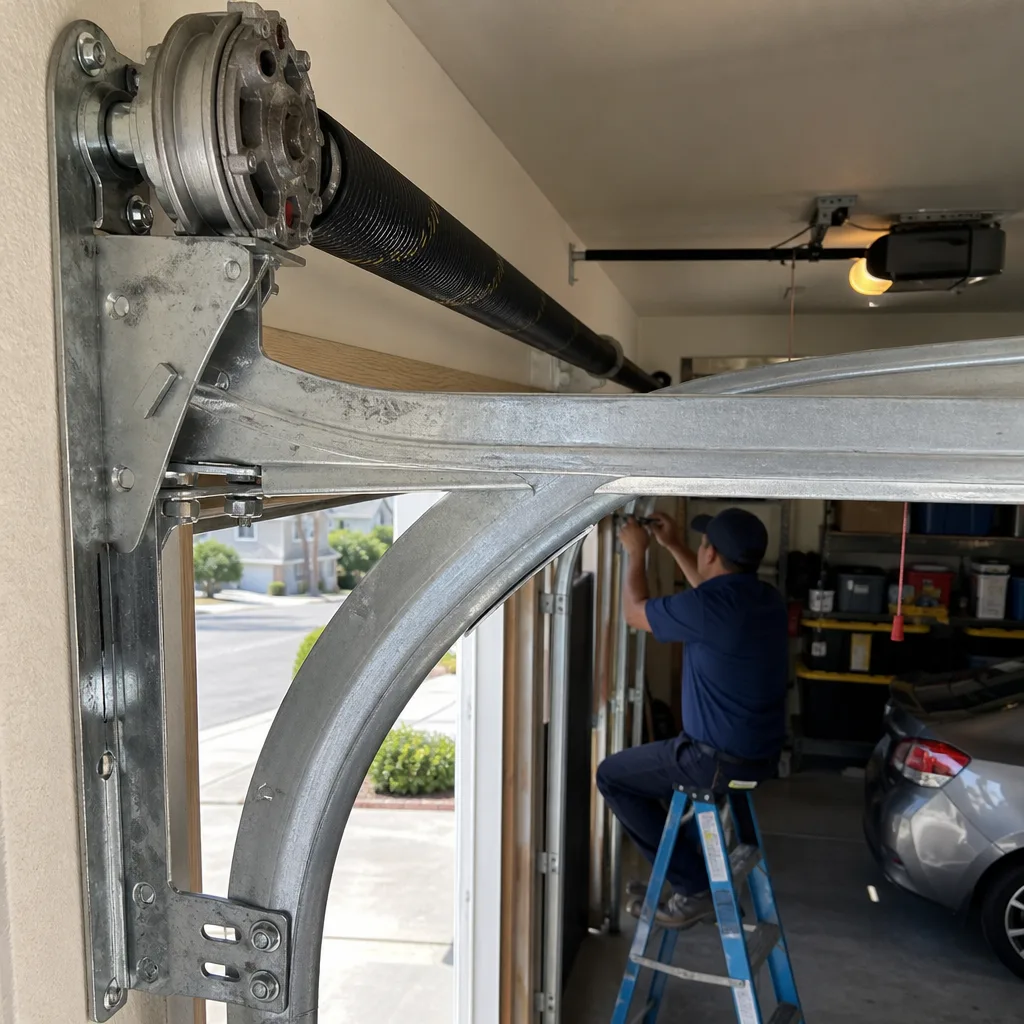 After
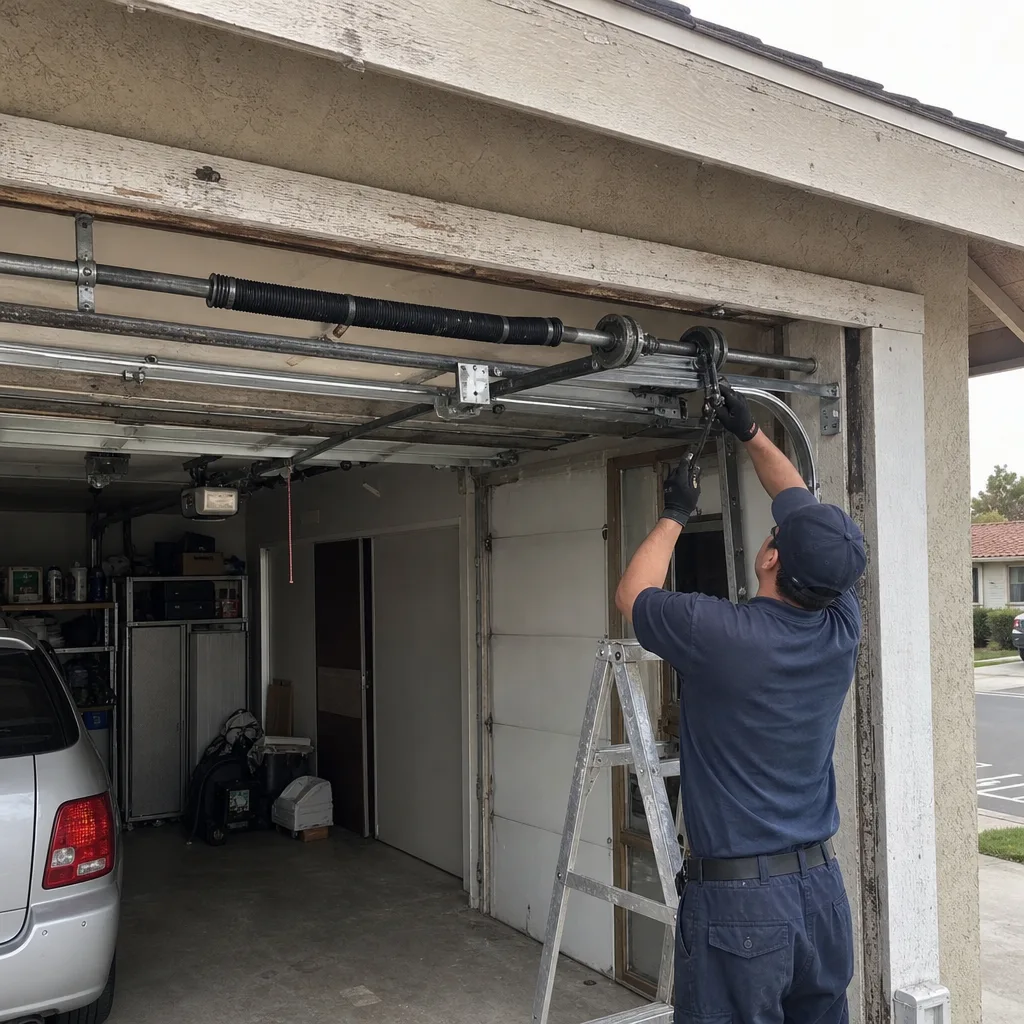 Before
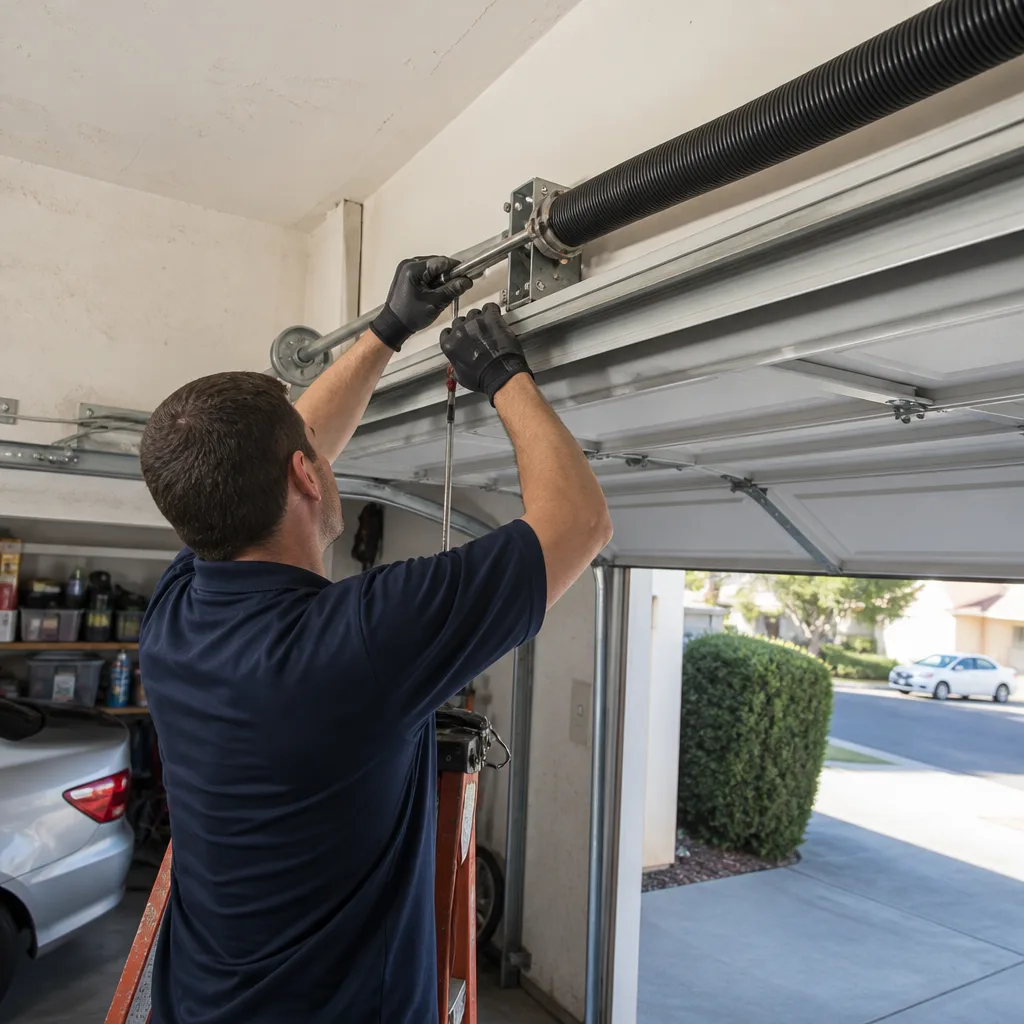 After