
Last updated October 31, 2026
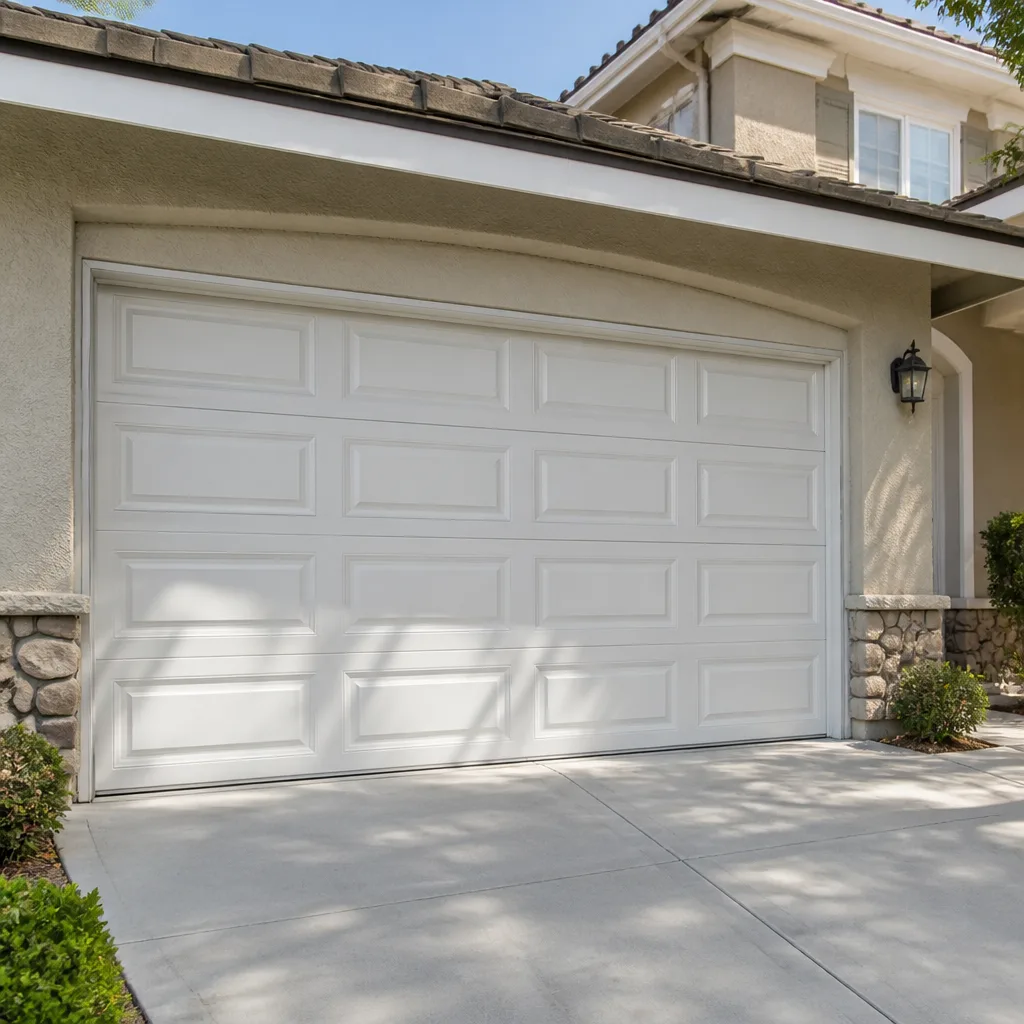 Raised-panel steel
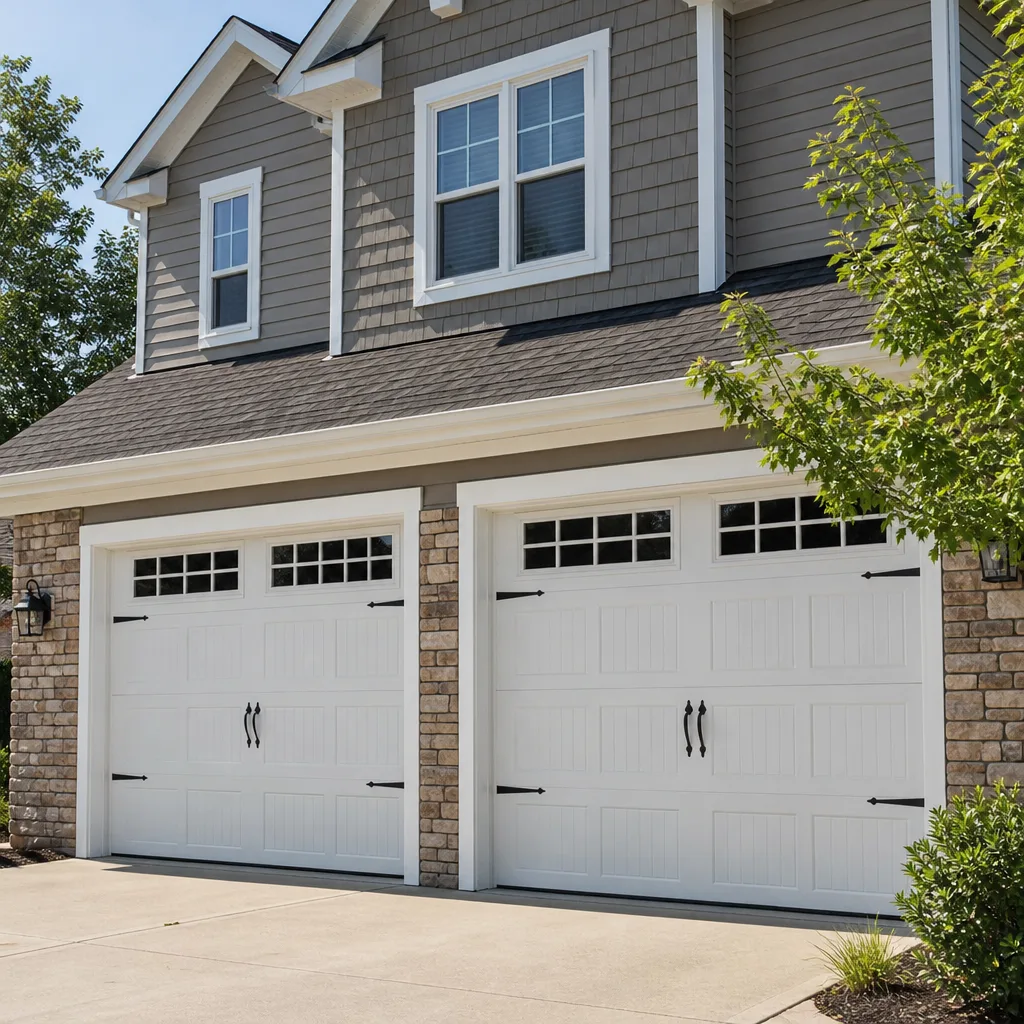
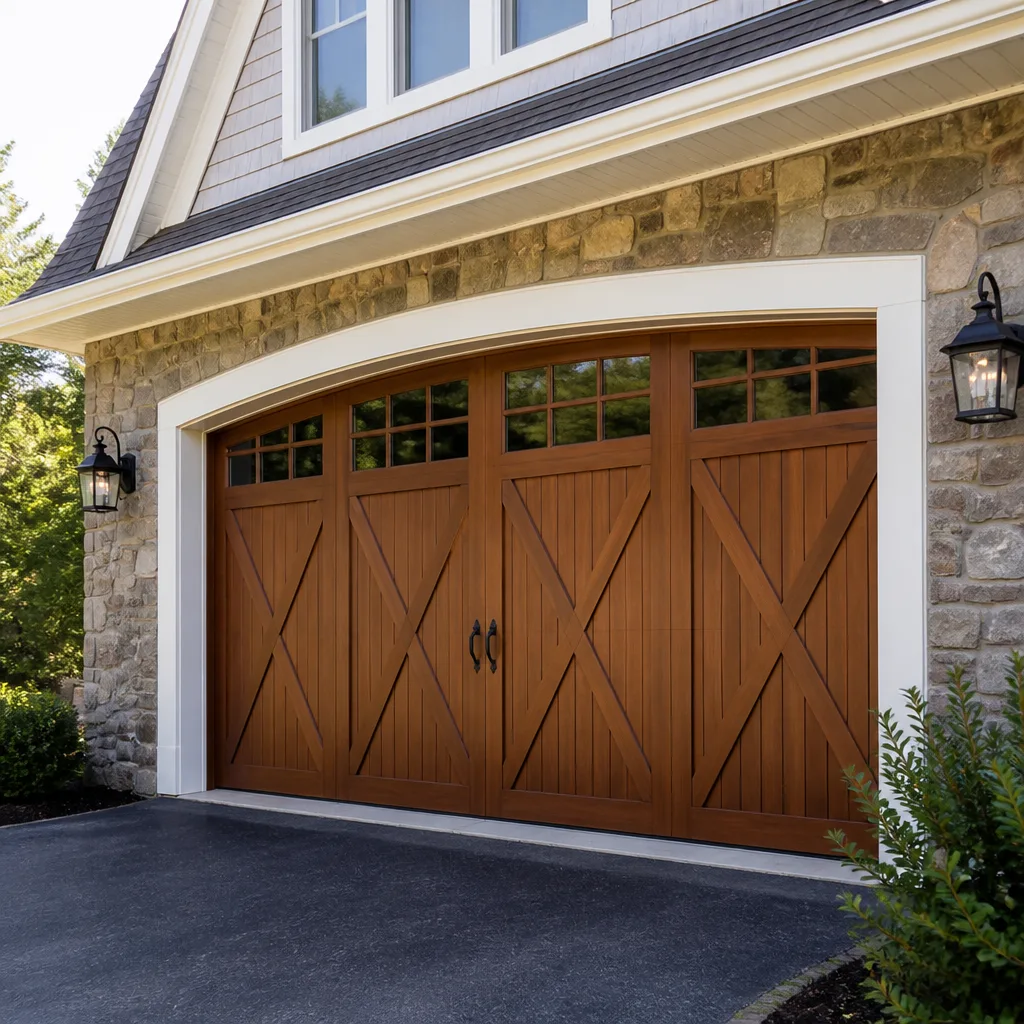 Carriage house
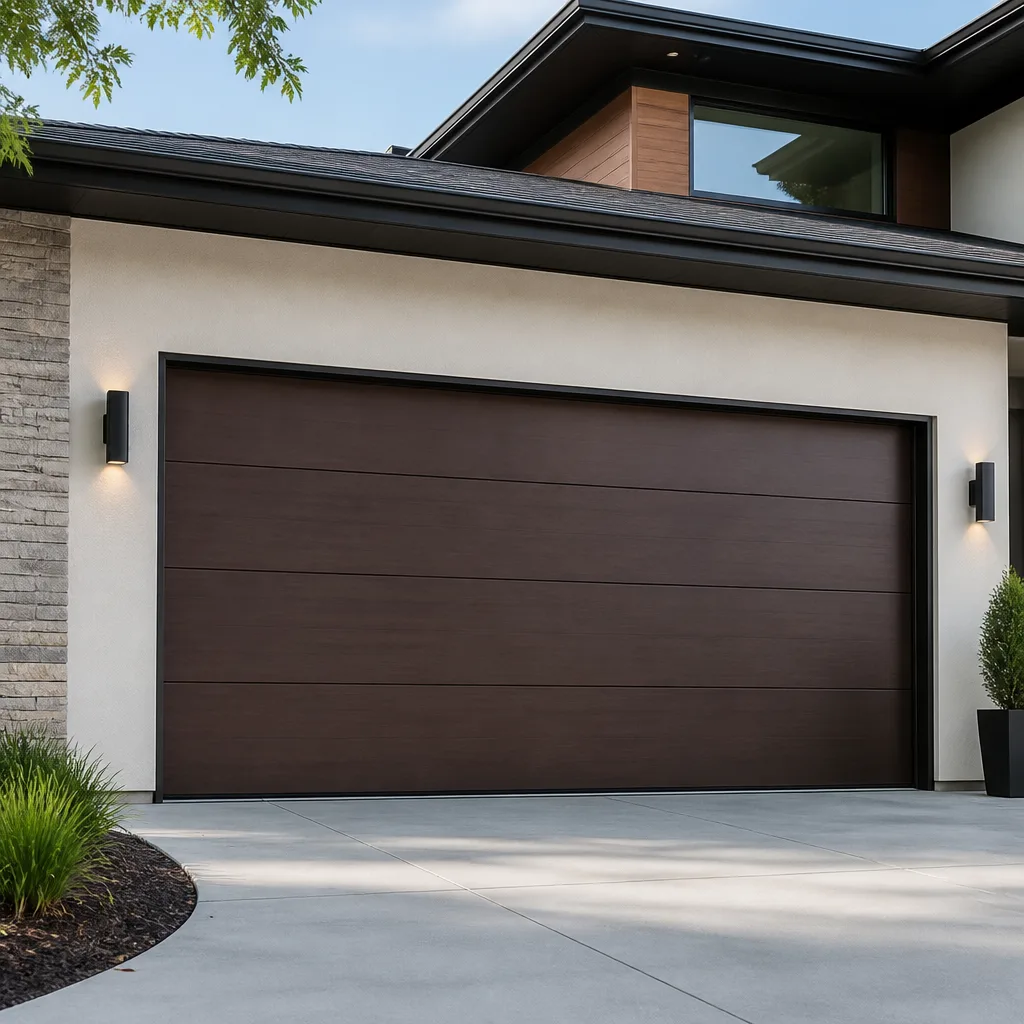 Modern flush
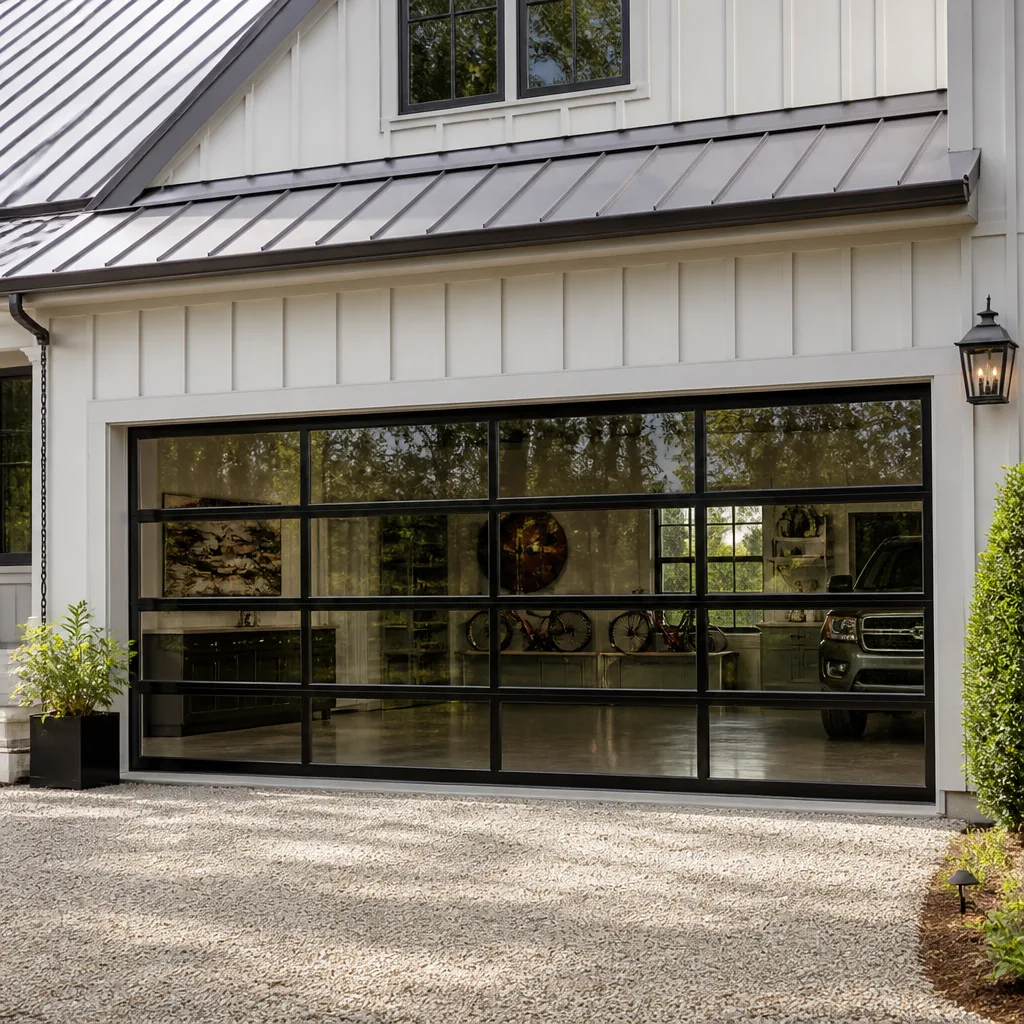 Full-view glass
 LiftMaster openers
 Chamberlain openers
Full 25-point door and opener safety check with every visit - springs, cables, rollers, tracks, and your LiftMaster or Chamberlain opener included
You get a price before we start. It does not change when the truck arrives.
Get your free estimateDIY vs Professional Garage Door: The Chula Vista Homeowner’s Decision Guide
Every year, thousands of homeowners in Chula Vista search for the cheapest way to fix a garage door, and the algorithm reliably feeds them a fifteen-minute video of a confident guy with a socket wrench replacing a torsion spring. What that video never shows is the follow-up: the ambulance ride, the crushed finger, the door that collapsed off its track and twisted the rail beyond repair. This guide exists to draw the line clearly. You’ll learn which five tasks are genuinely safe for a competent DIYer, which four should never be attempted without professional training, and how to think about the gray zone in between. We write this from the perspective of a garage door company in Chula Vista, but this guide is designed to help you whether you ever call us or not.
Styles & brands we work with
Quick Answer
For a Chula Vista homeowner, about 30% of garage door maintenance is safe to do yourself: lubrication, weather stripping, sensor realignment, remote programming, and battery swaps. The other 70%, including torsion spring replacement, cable replacement, track realignment, and opener motor or circuit board work, requires professional service because the mechanical energy stored in the system can cause serious injury, and the precision required for proper alignment exceeds what most weekend toolkits can achieve. Attempting the wrong repair often costs more to fix afterward than hiring a specialist would have cost in the first place.
Table of Contents
- The DIY-Safe List: 5 Tasks You Can Handle
- The Non-Negotiable Professional List: 4 Jobs That Demand a Trained Tech
- The Gray Zone: Bottom Seals and Panel Dents
- The Real Costs of DIY vs Professional Service in Chula Vista
- What Actually Goes Wrong: What We See on Failed DIY Jobs
- Chula Vista-Specific Factors: Climate, HOAs, and Resale
- Common Mistakes to Avoid
- When to Call a Professional
- Frequently Asked Questions
- The Bottom Line
The DIY-Safe List: 5 Tasks You Can Handle
Some garage door maintenance is genuinely approachable, requires no specialized tools, and carries minimal risk. These are the tasks where doing it yourself makes real sense. Here’s what a Chula Vista homeowner can confidently take on, with an honest assessment of the time and skill involved.
- Lubrication of rollers, hinges, and springs. This takes about 20 minutes with a can of white lithium grease or silicone spray. Any homeowner can do it. The key is using the right product: WD-40 is a solvent, not a lubricant, and it will strip whatever grease remains. Target the rollers, hinges, and the torsion spring above the door. Do this twice a year, especially after the dry Santa Ana season when Chula Vista air gets dusty and grit collects on moving parts.
- Weather stripping replacement. The rubber strip along the bottom of the door degrades under Chula Vista’s intense sun. A replacement strip costs $15 to $40 at any hardware store and installs in under an hour with basic tools. This is the lowest-risk, highest-value DIY task on the list. If you’re not sure which profile your door uses, take a photo before you shop.
- Photo-eye sensor alignment. When the door reverses immediately after touching the ground, or the opener light blinks and nothing moves, the photo-eye sensors at the bottom of the track are usually misaligned. Loosening the wing nut, adjusting the sensor until the small LED glows steady, and retightening takes ten minutes. This is the most common issue we see in Chula Vista homes, and it’s almost always DIY-fixable.
- Remote and keypad programming. Every major brand, from LiftMaster to Raynor, has a learn button on the opener unit. Programming a new remote usually means pressing that button and then pressing the remote. Keypad programming is slightly more involved but clearly documented in the manual, which is usually downloadable. No special tools, no risk, maybe 15 minutes.
- Opener battery replacement. The battery inside the wall-mounted opener button, and the backup battery inside the opener unit itself, both wear out over time. If your wall button works intermittently or the opener beeps after a power interruption, the fix is a $5 to $20 battery. Cover removal is straightforward. This is the easiest task on this list.
None of these five tasks involves touching a component under tension. That distinction is the entire ballgame. The moment you need to unwind a spring, remove a cable, or adjust a track that’s under load, you’ve crossed into professional territory, which is where we turn next.
The Non-Negotiable Professional List: 4 Jobs That Demand a Trained Tech
The line between safe and dangerous in garage door work is drawn by mechanical tension. A standard residential torsion spring holds roughly 100 to 150 pounds of torque when wound, and when it releases unexpectedly, it releases all of that energy in a fraction of a second. That is enough to break bones, sever fingers, or worse. Here are the four tasks that require professional service, and the mechanical reason each one is dangerous or precision-dependent.
1. Torsion Spring Replacement
The spring above your garage door is wound tight enough to lift several hundred pounds of steel and wood every time you open the door. Replacing it requires unwinding the old spring with specialized winding bars, and if a bar slips while the spring is under tension, the spring unwinds in milliseconds. This is the single most common cause of garage-door-related ER visits in the United States. The “installer’s error rate” matters enormously here, and that’s the detail every DIY tutorial skips: the procedure looks simple when it goes right, but the difference between a successful winding and a trip to Sharp Chula Vista Medical Center is about four inches of hand placement. Professional replacement also matters because the new spring must be matched to the door’s exact weight and height. A spring that’s too weak won’t lift the door. One that’s too strong will slamming it upward and strain the opener motor. When we replace a spring on a Wayne Dalton or Amarr door in Chula Vista, we’re measuring the door’s weight, not guessing from a label.
2. Cable Replacement
The lift cables run along both sides of the door and carry the door’s full weight when the spring tension is transferred. If a cable snaps and the door is mid-open, the door can drop unexpectedly. Replacing a cable requires first de-tensioning the spring, because the cable is under load at all times. Attempting cable work without removing spring tension is like changing a tire while the car is rolling. It cannot be done safely by hand, and every failed attempt we’ve seen in Chula Vista has resulted in a bent track or a door jammed at an angle, neither of which is a quick fix.
3. Track Realignment
The vertical and horizontal tracks guide the door every time it opens and closes. They need to be aligned within a tolerance that’s hard to see with the naked eye but easy to feel when the door starts binding or rattling. The challenge is that the track is bolted to the wall and ceiling, and the bolts sit behind the door’s travel path. Realigning a track usually requires loosening bolts, adjusting the track in controlled increments, and retightening under load. A misjudged adjustment can cause the door to derail completely, and a derailed door is significantly harder to fix than a misaligned one. In our experience, track problems are the most common outcome of a DIY repair that started as something else entirely, often a spring or cable attempt that went sideways.
4. Opener Gear and Circuit Board Replacement
Inside every garage door opener, from a Craftsman chain-drive to a LiftMaster belt-drive, there is a plastic drive gear that wears down over time. When it fails, the motor runs but the door doesn’t move. Replacing the gear requires opening the opener housing, which contains a capacitor that can hold a charge even when the unit is unplugged. The circuit board is another failure point: a power surge during a Chula Vista monsoon-season thunderstorm can fry the logic board. Replacement involves matching the board to the exact model number, which changes frequently within the same brand’s lineup. This is precision work. It’s not about physical danger so much as the near-certainty of buying the wrong part, opening the unit, and then discovering the mismatch after the warranty is voided.
The Gray Zone: Bottom Seals and Panel Dents
Between the clearly safe and the clearly dangerous sits the gray zone: tasks that are physically possible for a determined homeowner but where material selection, visibility, and local context make a meaningful difference. In Chula Vista, the gray zone has a specific character because of HOAs and community aesthetics.
Bottom Seal Replacement
On the surface, replacing the rubber seal at the bottom of the door looks like a beginner-level task, and in some cases it is. The complication is that garage door bottom seals come in several profiles: T-style, bead-style, and bulb-style, each of which fits a different retainer channel. The retainer itself may be aluminum or steel, and it may be screwed or riveted to the door. If you buy the wrong profile, which is easy to do because the profiles look similar in photos, the seal will not seat correctly and you’ll have a gap that lets in dust, water, and pests. Chula Vista’s dry climate creates a specific issue: the seal material matters. EPDM rubber holds up far better than vinyl in high-heat, high-UV environments, but it costs more, so the cheaper option on the shelf may be the one that cracks within one summer. A homeowner who does the research can absolutely do this job. A homeowner who buys the first seal they see at the big-box store has about a 50% chance of redoing it after the next heat wave.
Panel Dent Repair
Door panels dent. It happens in Chula Vista driveways constantly, from a misjudged parking job to a bike handle swung too enthusiastically. The question is whether the dented panel can be repaired or whether it needs replacing, and that answer depends on the panel material, the door brand, and the age of the door. Here’s where brand-specific knowledge matters: a Raynor steel door panel has different structural characteristics than an Amarr panel, and a Craftsman model from 12 years ago may no longer have replacement panels in production at all. The practical problem with DIY panel work is that patching and painting a garage door panel so it blends with the rest of the door is genuinely difficult. Doors fade unevenly in the Chula Vista sun. A repainted panel will show its age difference within a year, and if you live in an HOA community like Eastlake or Otay Ranch, a mismatched panel can generate a violation notice. The gray zone here is real: some homeowners can do this well, but the cost of doing it poorly is a visible, permanent patch on the largest moving object on the front of your home.
Our honest guidance: if the seal has a simple retainer and you’re willing to match the profile carefully, do it yourself. If the dent is on a panel that faces the street, or you live under an HOA with strict exterior standards, get a professional opinion before you open the paint can.
The Real Costs of DIY vs Professional Service in Chula Vista
Most DIY-vs-pro conversations pretend the only cost difference is the hourly labor rate. That’s the wrong way to think about it, especially without a clear Garage Door Cost Breakdown: The Chula Vista Homeowner’s Reference for 2026. The honest comparison accounts for parts, tools, time, and the cost of failure. Here’s what the numbers actually look like in Chula Vista.
Torsion Spring Replacement: The Numbers
- DIY parts cost: $80 to $120 for a pair of torsion springs, depending on door weight and size.
- DIY required tools: winding bars ($20 to $40 if you don’t own them), a socket set, and a stable ladder. Most homeowners own only one of these three.
- DIY time cost: 2 to 4 hours for a first-timer, with a meaningful chance of doing it wrong.
- Professional cost in Chula Vista: typically $180 to $340 for spring replacement, including parts, labor, and balancing the door afterward.
- Cost of a failed DIY spring job: anywhere from $300 to $1,500, depending on whether the failure damaged the track, the door, the opener, or a person.
The math on paper suggests a DIY spring replacement saves maybe $100 to $150. But that calculation only works if the job succeeds on the first attempt. The failure rate for untrained spring replacement is high enough that the expected value of the DIY approach is negative, meaning the average homeowner loses money on the attempt once the cost of failures is spread across attempts. That’s the number nobody in the YouTube comments section ever mentions.
Weather Stripping Replacement: The Numbers
- DIY parts cost: $15 to $40.
- DIY tools needed: utility knife, maybe a screwdriver. You own these.
- DIY time cost: under an hour.
- Professional cost in Chula Vista: typically $80 to $150.
- Cost of failure: minimal, a new strip is cheap.
Here the DIY math clearly works. The savings are modest but real, and the risk of catastrophic failure is essentially zero. The same holds for lubrication, sensor alignment, and battery swaps. The pattern is consistent: the DIY-safe tasks are the ones where the cost of failure is limited to the price of the parts, and the professional-required tasks are the ones where failure costs ten times the professional fee.
What Actually Goes Wrong: What We See on Failed DIY Jobs
We’ve been called to enough Chula Vista homes after a DIY attempt went sideways that we can describe the failure patterns with uncomfortable specificity, which is why our Garage Door Emergency Preparedness Guide for Chula Vista Homes is worth reading before you start. These are not hypothetical warnings. They’re the reasons our phone rings.
The half-unwound spring. A homeowner starts unwinding the torsion spring, realizes the winding bar is slipping, and stops midway. The door now has one spring partially unwound and one fully wound, which means the door is unbalanced to the point of being unsafe to open. The homeowner can’t finish, can’t rewind, and can’t leave the door as-is. This is the most common failed DIY call we receive. The repair now costs more than a standard spring replacement would have, because the half-unwound spring often gets damaged in the process.
The derailed door. During a cable replacement or track adjustment, the door comes out of its tracks and drops onto whatever is underneath it. Sometimes that’s a car. Sometimes it’s a person’s leg. Even when it’s just the driveway, the door is now heavy, unwieldy, and dangerous to move. Lifting a derailed door without proper technique can strain a back or crush a hand. Professional re-railing takes specialized technique and usually two people.
The stripped opener gear from a mismatched spring. A homeowner replaces their own spring with one that’s too strong, usually because they matched the spring by eyeballing it or buying the cheapest option at the hardware store. The door now opens too violently, which wears out the plastic drive gear inside the opener within a few months. The homeowner then faces a second repair: the opener gear, which is a separate job requiring opening the opener unit. A professional spring replacement includes matching the spring weight to the door and the opener, so this cascade never starts.
The HOA notice. This one is specific to Chula Vista and its high concentration of master-planned communities. A homeowner paints a dented panel or installs a mismatched bottom seal, and within weeks the HOA sends a notice of violation. The homeowner now has to fix the repair, often under a deadline, and the cost of the redo exceeds what hiring a professional would have cost originally. HOAs in Otay Ranch, Eastlake, and Rancho del Rey are particularly attentive to garage door appearance because the doors face the street and affect the community’s curb appeal.
If you’re weighing a DIY repair of anything beyond the safe list, our honest recommendation is to look at the Garage Door Repair in Chula Vista page to understand what professional service actually involves and costs. Knowledge makes a better decision than optimism.
Chula Vista-Specific Factors: Climate, HOAs, and Resale
This section is about the local conditions that make garage door decisions in Chula Vista different from the same decisions in, say, Minneapolis or Seattle. If you live in the 91910, 91911, 91913, or 91915 ZIP codes, these factors apply directly to you.
Salt Air and Coastal Corrosion
Western Chula Vista, particularly neighborhoods within a few miles of San Diego Bay, experiences salt-laden air that accelerates corrosion on metal components. Springs, cables, and hinges in coastal Chula Vista tend to fail faster than the same parts would inland. The practical implication is that the maintenance schedule matters more here: lubrication every six months is not optional, it’s the difference between a 10-year spring and a 6-year spring. For homeowners near the bay, we recommend inspecting the cables and springs for rust spots every spring, before the marine layer season gives way to summer heat.
Heat Expansion and Fading
East Chula Vista, including Otay Ranch and the communities along the 125 corridor, gets significantly hotter in summer than the coastal strip. Steel doors expand in that heat, and expansion can cause binding at the track joints if the track was installed with insufficient clearance. Fading is also a real concern: a door that faces west gets hammered by afternoon sun, and replacement panels or repainted sections will show their age quickly. If you’re in Eastlake or Sunbow and you’re thinking about a dent repair, understand that the sun is working against your color-matching attempt.
HOA Density and Curb Appeal Standards
Chula Vista has one of the highest concentrations of HOA-governed communities in San Diego County. The practical impact on garage door decisions is simple: in an HOA community, a visible DIY mistake is not a cosmetic issue, it’s a compliance issue. If your botched panel paint or mismatched seal generates a notice, the HOA may require correction within 30 to 60 days, and repeated violations can escalate to fines. The cost of professional service looks different in context when the alternative includes the possibility of HOA enforcement.
Resale Disclosure and California Law
California law requires sellers to disclose known material defects. If you replaced your own torsion spring and the job was done incorrectly, the resulting damage or compromised safety is something you’re legally obligated to disclose when you sell. A professional repair, by contrast, comes with documentation that can answer a buyer’s questions during escrow. Homebuyers in Chula Vista routinely request inspection reports on garage doors, and a buyer’s inspector can usually identify a poorly performed spring or cable replacement. The DIY savings, in other words, can become a resale liability. This is not a reason never to DIY, but it’s a reason to be honest with yourself about whether a given task is genuinely within your skill set.
Common Mistakes to Avoid
- Using WD-40 as a garage door lubricant. WD-40 is a penetrating solvent and water displacer. It is not a long-term lubricant, and using it on rollers and hinges actually strips the existing grease and accelerates wear. Use white lithium grease on metal-to-metal contact points and silicone spray on nylon rollers.
- Matching a replacement spring by appearance instead of by weight rating. Torsion springs look similar to each other but are rated for specific door weights. A spring sized for a light single-car door will not safely lift a heavy double-car door, and the mismatch causes the opener to fail prematurely. This is one of the most common causes of the stripped-gear problem we described earlier.
- Disconnecting the opener while the door is up. The red emergency release cord disconnects the opener from the door. If you pull it while the door is open, the door can slam down under its own weight, especially if one spring is broken. Always close the door before pulling the release, or support the door manually if it must stay open.
- Buying parts before confirming the door model. Garage doors from different brands and different eras use different hardware profiles. A bottom seal for a Wayne Dalton door may not fit a Raynor retainer, and a replacement remote for a LiftMaster may not pair with a Chamberlain opener even though they’re corporate siblings. Confirm the model before you spend money.
- Assuming a crooked door just needs a track adjustment. A door that sits unevenly often has a broken spring or a stretched cable, not a bent track. Adjusting the track to compensate for a spring problem creates a second problem while leaving the first one unaddressed. Diagnose before you adjust.
- Skipping the service call because the door still opens. A door that opens slowly, shudders, or bangs at the top of its travel is a door that’s telling you something. Waiting until total failure means a more expensive repair, and in Chula Vista’s heat, parts under stress fail faster. The earlier you diagnose, the cheaper the fix.
When to Call a Professional
Call a professional the moment you see a visible gap in a torsion spring, hear a loud bang from the garage that sounds like something snapping, or see a cable hanging loose from the drum. These are signs of a spring or cable failure, and the door is now under partial or unbalanced load. Do not attempt to open or close the door manually. If the opener motor runs but the door doesn’t move, the drive gear is likely stripped, and that requires opening the opener unit. If the door is off its tracks, do not try to lift it. For any of these scenarios, and for any repair you’re not certain about, Garage Door Opener Repair in Chula Vista covers the electrical side of the system, while Garage Door Installation in Chula Vista covers replacement when repair is no longer the right call. Chelsea Garage Door Service offers free estimates in Chula Vista, call (877) 626-0097 to schedule a diagnostic visit.
Frequently Asked Questions
Professional torsion spring replacement in Chula Vista typically costs between $180 and $340, including parts and labor. The final price depends on the door’s weight, the spring size, and whether one or both springs need replacement. A properly performed replacement includes balancing the door so it opens and closes smoothly without straining the opener. Call (877) 626-0097 for an exact quote based on your specific door.
No, torsion spring replacement is not safe for a homeowner without professional training and the proper winding tools. The spring holds enough tension to cause severe injury if it releases unexpectedly, and the failure rate for untrained attempts is high enough that the average DIYer loses money once the cost of failed jobs is considered. This is the one repair where the consensus among professionals is absolute.
Yes, lubrication is one of the safest and most beneficial DIY tasks a Chula Vista homeowner can perform. Use white lithium grease on the rollers, hinges, and torsion spring, and do it every six months to counteract the effects of coastal salt air in western Chula Vista and dry heat in the eastern neighborhoods. Lubrication adds years to the life of moving parts and costs under $10 per application.
The most common garage door issues we see in Chula Vista are misaligned photo-eye sensors, worn bottom seals, broken torsion springs in coastal homes where salt air accelerates corrosion, and stripped opener gears in older units. Sensor problems are almost always DIY-fixable. Spring and gear problems are not. Knowing which category your problem falls into is the first step toward fixing it correctly.
Most Chula Vista HOAs do not mandate professional repair, but they do enforce appearance standards, and a visibly poor DIY repair, such as a mismatched panel or an ill-fitting seal, can generate a violation notice. Some HOAs, particularly in Otay Ranch and Eastlake, are strict about curb appeal. If your garage door faces the street, the cost of a professional fix may be cheaper than the cost of an HOA-required redo.
A properly installed torsion spring in Chula Vista typically lasts 7 to 12 years, depending on usage frequency, coastal exposure, and maintenance. Springs in homes near San Diego Bay tend to fail earlier because of salt-air corrosion, while springs in eastern Chula Vista homes may last longer if the door is lubricated regularly. The spring’s lifespan is rated in cycles, not years, and a heavily used door, such as one opened 6 to 8 times per day, will wear out a spring faster than a door used twice daily.
The Bottom Line
The DIY-vs-professional decision for garage doors is not a philosophical question. It’s a mechanical one. The dividing line is tension: if a component holds tension, a professional should touch it. If it doesn’t, a careful homeowner can save money safely. Lubricate, seal, align, program, and swap batteries yourself. Call a specialist for springs, cables, tracks, and opener internals. When you’re not sure which category a problem falls into, a diagnostic visit costs far less than the repair that follows a mistaken guess. Chelsea Garage Door Service home offers free estimates throughout Chula Vista, and garage doors are all we do. Call (877) 626-0097 when you need a straight answer and a straight quote.
Written by the team at Chelsea Garage Door Service, serving Chula Vista since 2014.
See the difference
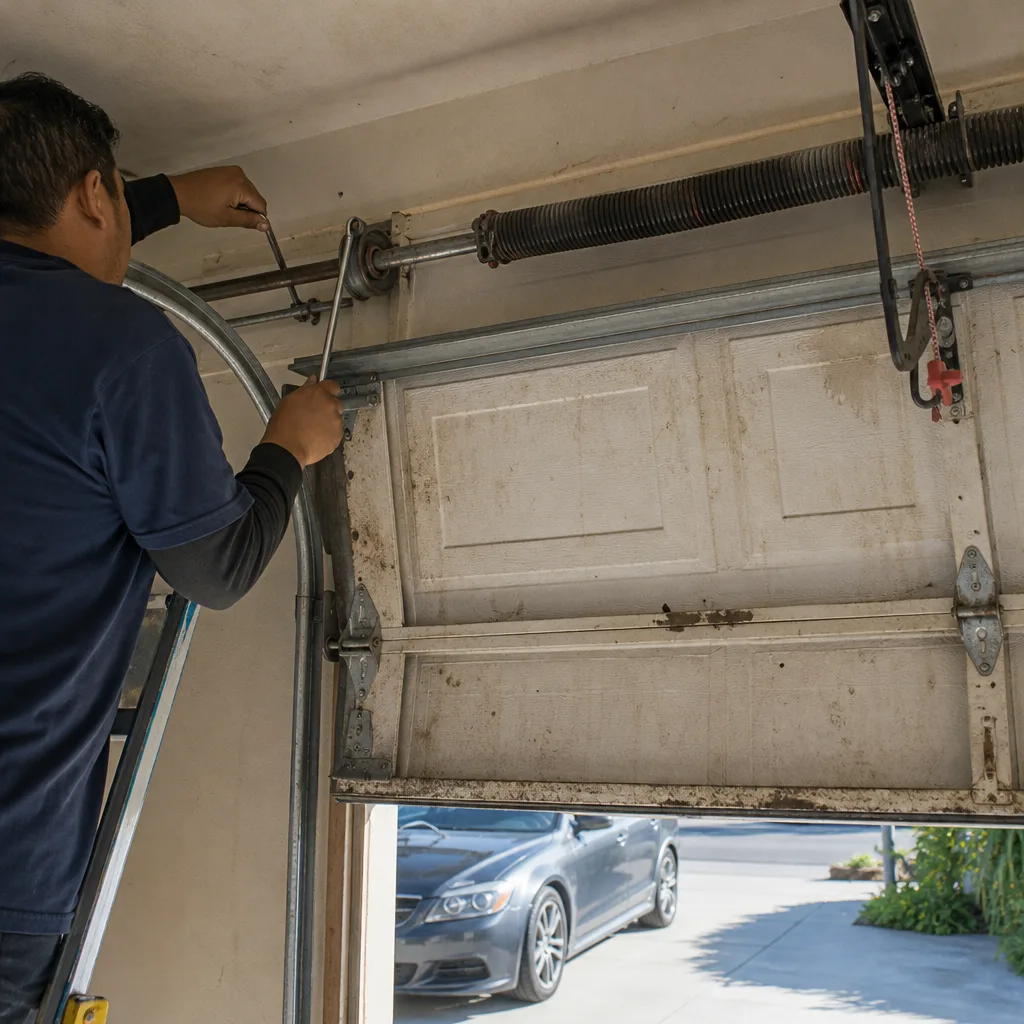 Before
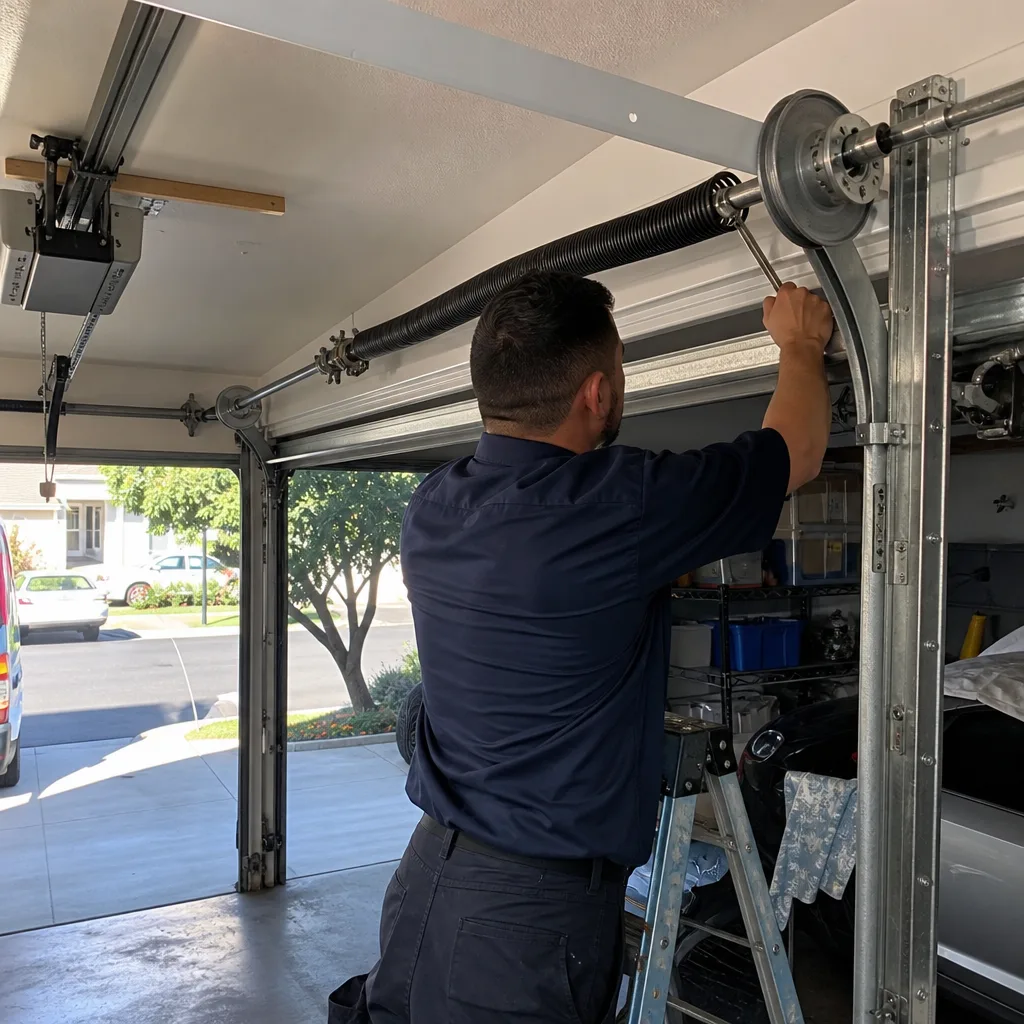 After
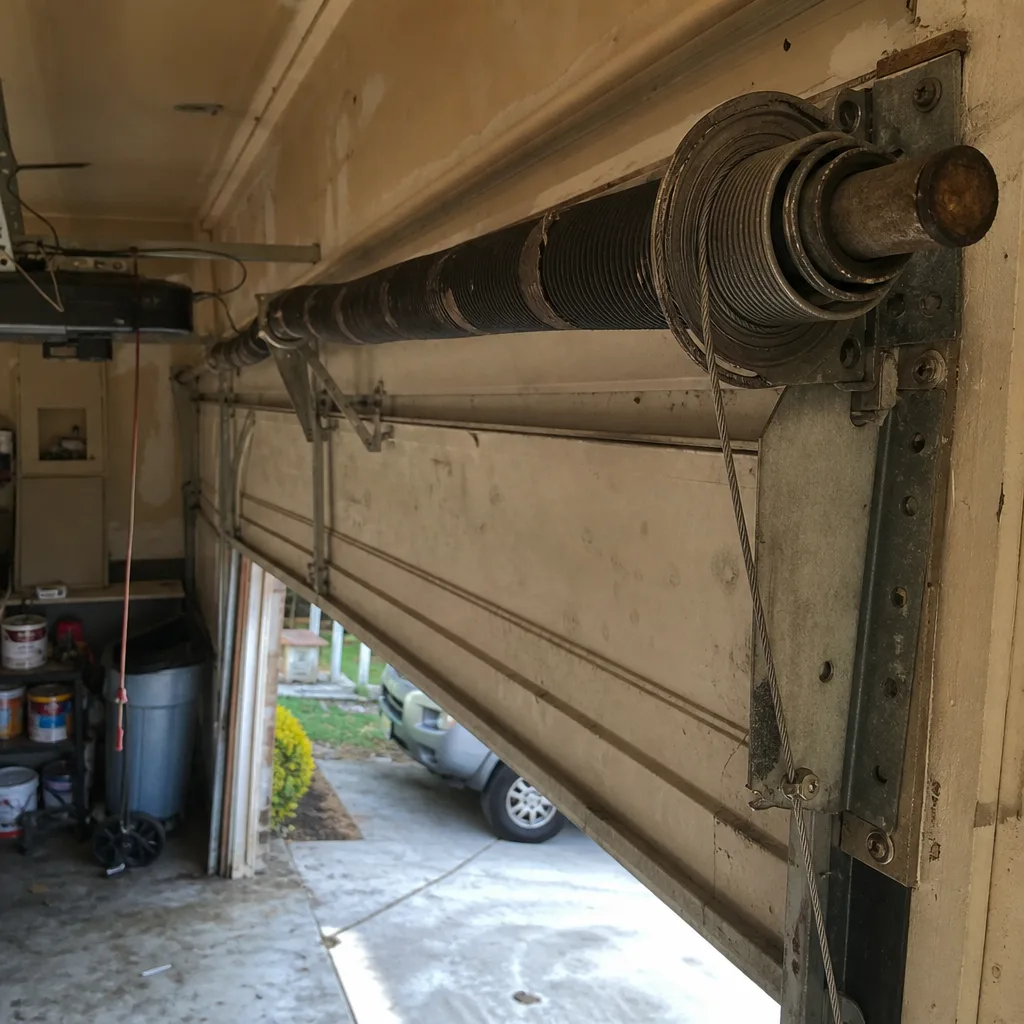 Before
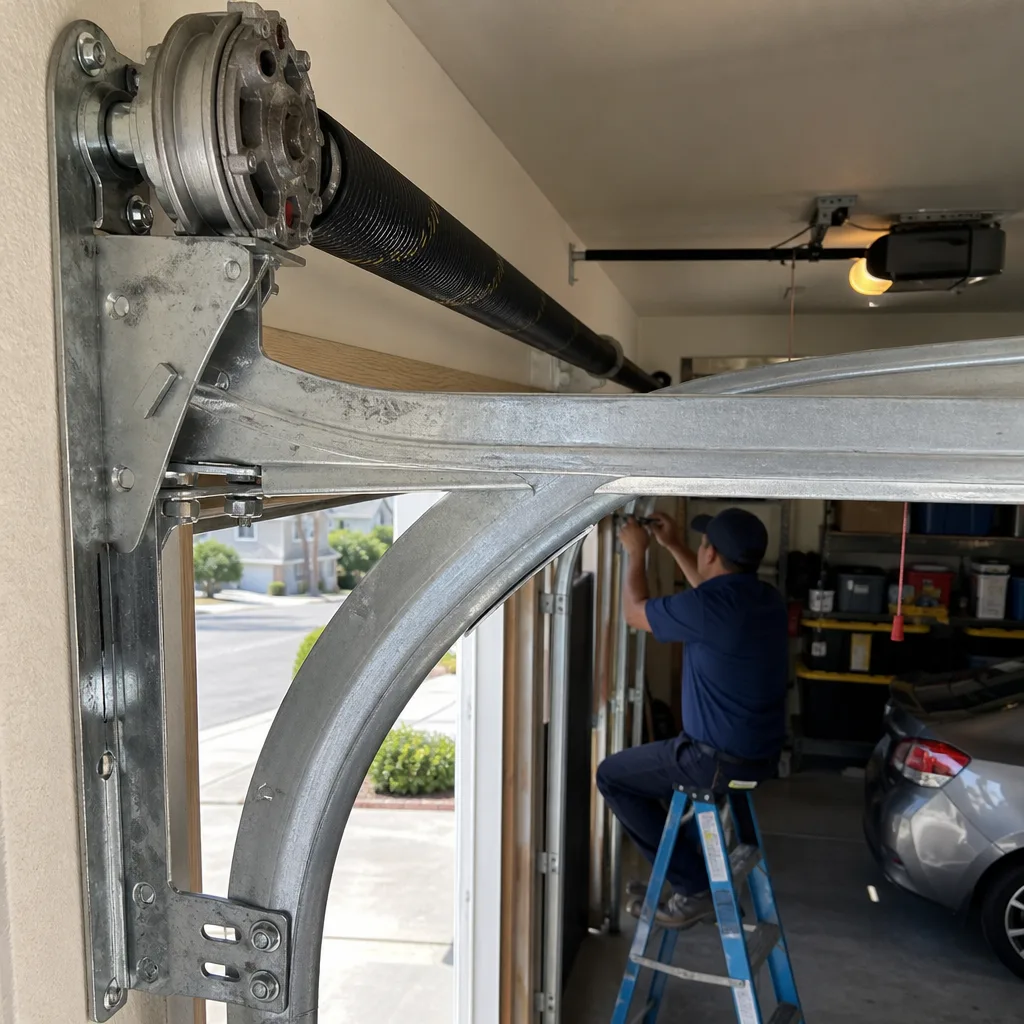 After
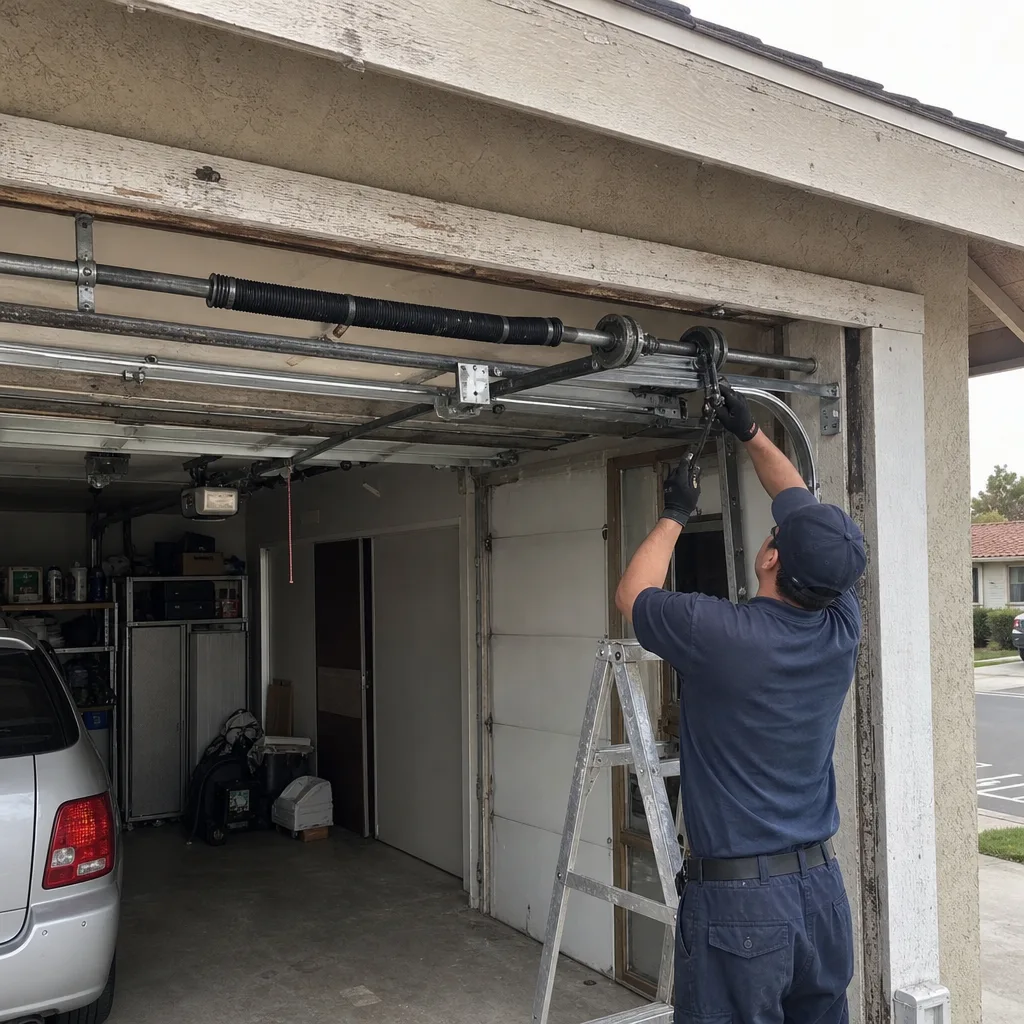 Before
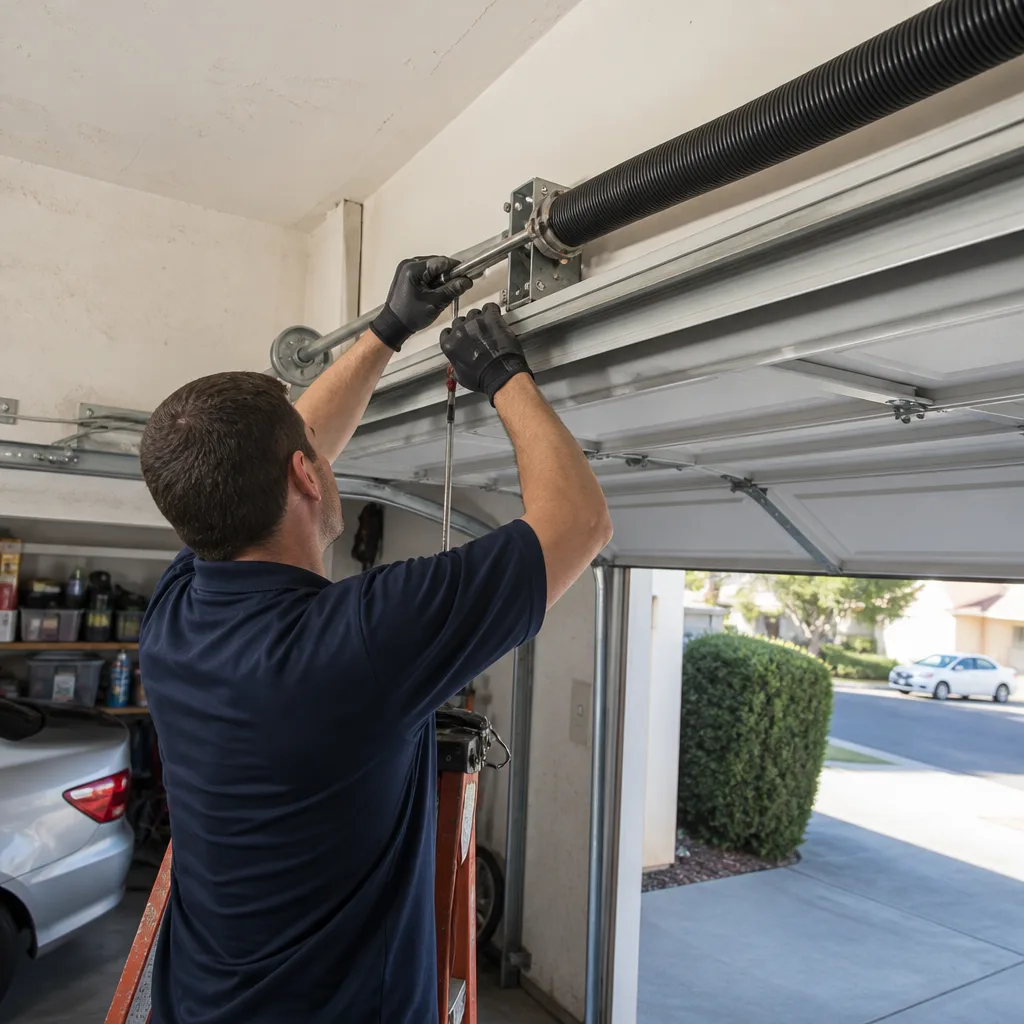 After